Culver Lake Concrete Dock Restoration

This was a restoration of an existing concrete dock on Culver’s Lake in Frankford, NJ.  The existing concrete dock was a massive piece of concrete that was unsightly and really too low for the average waterline in the lake.  We resurfaced the existing concrete in two steps.  We first poured our structural slab which was reinforced with 1/2″ steel rebar and structural synthetic fibers.  Once this was done, we applied our hand crafted stone which was done in our fieldstone pattern and grouted with a natural concrete grey grout.We did a decorative edge around the entire exterior for a finished look.

Butler, NJ Commercial Building Entryway Renovation

The objective of this job was to create a more visually pleasing entrance to this commercial space, while also improving the flow of traffic.  We demolished portions of the sidewalk in order to create an aesthetically pleasing shape and flow.  Other areas were resurfaced in order to keep demolition costs to a minimum.  We also raised the existing grade in efforts to eliminate the need for railings.  With the new design, we were able to eliminate all steps and take the steep pitch out of the ramp and bring it over a longer distance.  We also poured decorative concrete wall using our formliners in a stacked fieldstone pattern.  The wall was then capped with our decorative concrete tile to match the sidewalks.  These concrete walls are an alternative to split faced block walls and can be more decorative while also being much stronger.

Oakland, NJ Patio Resurface 2013

This existing patio was structurally sound, but very plain and stood out in this well kept backyard.  The homeowners wanted to update the look of the area with the look of stone and add on an additional patio space creating a continuous look.  We also added a cantilevered edge to the step leading to their pool as well as a textured plaster finish to the riser detail.

Marbleized Wave Sink

This sink was custom sized for this specific location.  Due to the bathroom size, a standard vanity and sink would not fit.  With precast concrete, we have the ability to design and build a completely customized sink and counter.  Any size, color, and shape can be accomplished to fit any room or location.  This sink was done with a wave bowl and had a marbleized surface.  The base color of the sink was done in a neutral tan with grey variations.  The sink was also infused with a walnut dye to match the custom built vanity.  We were able to achieve a customized organic looking sink with concrete.  We also made a back-splash to match the sink and countertop.  A waterfall faucet perfectly complemented this custom sink.

Bathroom Concrete Tile Floor

This guest bathroom had a concrete floor that was covered with carpet to hide the fact that it was badly cracked and settled.  While being a relatively small bathroom, the floor the floor was almost an 1 1/2″ out of level.  There were also several major cracks in the floor.  The first step was to clean the floor and repair the cracks and prepare the new heights of the floor.  We could not fully correct the out of levelness due to the existing door opening, but were able to bring it to an acceptable level that would not be noticeable.  The floor was then poured and textured, then embossed with the 12″ square tile pattern.  Once the floor was cured we stained, grouted and sealed.  Since this was a small room, we went with a grout that matched the concrete tile color, this cut down on the individuality of the tiles and created a more monolithic floor.   The floor was finished with a wax to help with maintenance.

Jefferson Pool Deck Resurfacing

This was a stamped concrete pool deck that was over 17 years old. The main reason the homeowners were looking to upgrade the pool deck was due to a partial collapse of the pool wall after a hurricane. The deep end of the pool was undermined and in order to repair this, part of the pool deck needed to be removed. Rather than replace that section and have a patch, they opted to resurface the entire deck for an updated look. We began by pouring the coping which would be a different color than the deck. Without demolition, we are able to go right over top of the “C” style coping and not interfere with the liner at all. Once the coping was complete, we poured the structural slab to correct any pitch issues and achieve a uniform depth for our stone. Once the handcrafted stone was in place, we grouted the entire job with a dark grey color to offer contrast. There was also a decorative medallion placed near the steps entering the pool.

Handcrafted Stone Over Wooden Deck

This project was done to create a more decorative transition from the home to the patio area. Rather than just having steps leading into the home, we created an elevated entertaining area with stone accents on the vertical areas and steps that created a focal point. Rather than create a structure out of masonry, which would require footings around the entire perimeter, we chose our method of covering elevated wooden structures. With this method, we would only require two footings to be poured just as you would with a typical elevated deck of this size. The deck was then constructed just as an ordinary deck would be, with the only exception being the incorporation of pitch for drainage since the top decking would be solid surface. We then secure plywood to the sides to create a surface that would be covered with a stone. The entire surface is then wrapped in a waterproofing material and that is then covered with wire lathe. All of the vertical portions and the horizontal areas were then scratch coated with a cementious material to created a bonding layer. We then create our handcrafted stone over the entire horizontal areas of the deck including the steps. Once these areas were complete and grouted, we could focus on the vertical areas. The verticals were covered with our vertical handcrafted stone done in a ledgestone pattern. This process involves hand carving and sculpting the concrete to take the shape of a natural stone. This can be done with any colors in mind or any style, and is an attractive alternative to lattice or other similar materials used to cover vertical portions of decks. As a side note, this type of construction is not only more cost effective than typical masonry construction, but can also be completed in a much quicker time frame.

Handcrafted Stone Columns

These column bases were made to highlight the deck support posts that were on this patio. Rather than ignore the posts, we chose to make them into a design feature. The process began by creating custom handcrafted stone caps approximately a 1/3rd of the way up the column. These were done with a decorative edging and a textured top. They were made using a high performance mix that eliminated the need for joints or seams. The next step was to create the stone that would be the main focal point. The stone was hand carved and shape to mimic the look of a drystack ledgestone. The stones were then colored and stained to create the desired look. Since all of the stone work on these columns is handcrafted, we can manipulated and customize for a varying amount of different situations. We can do this for driveway piers, deck supports, railing piers, outdoor fire features, and seat walls just to name a few. The colors are limitless and sizes and shapes are able to be customized much easier and more reasonably than real stone.

Handcrafted Stone Over Elevated Wooden Deck

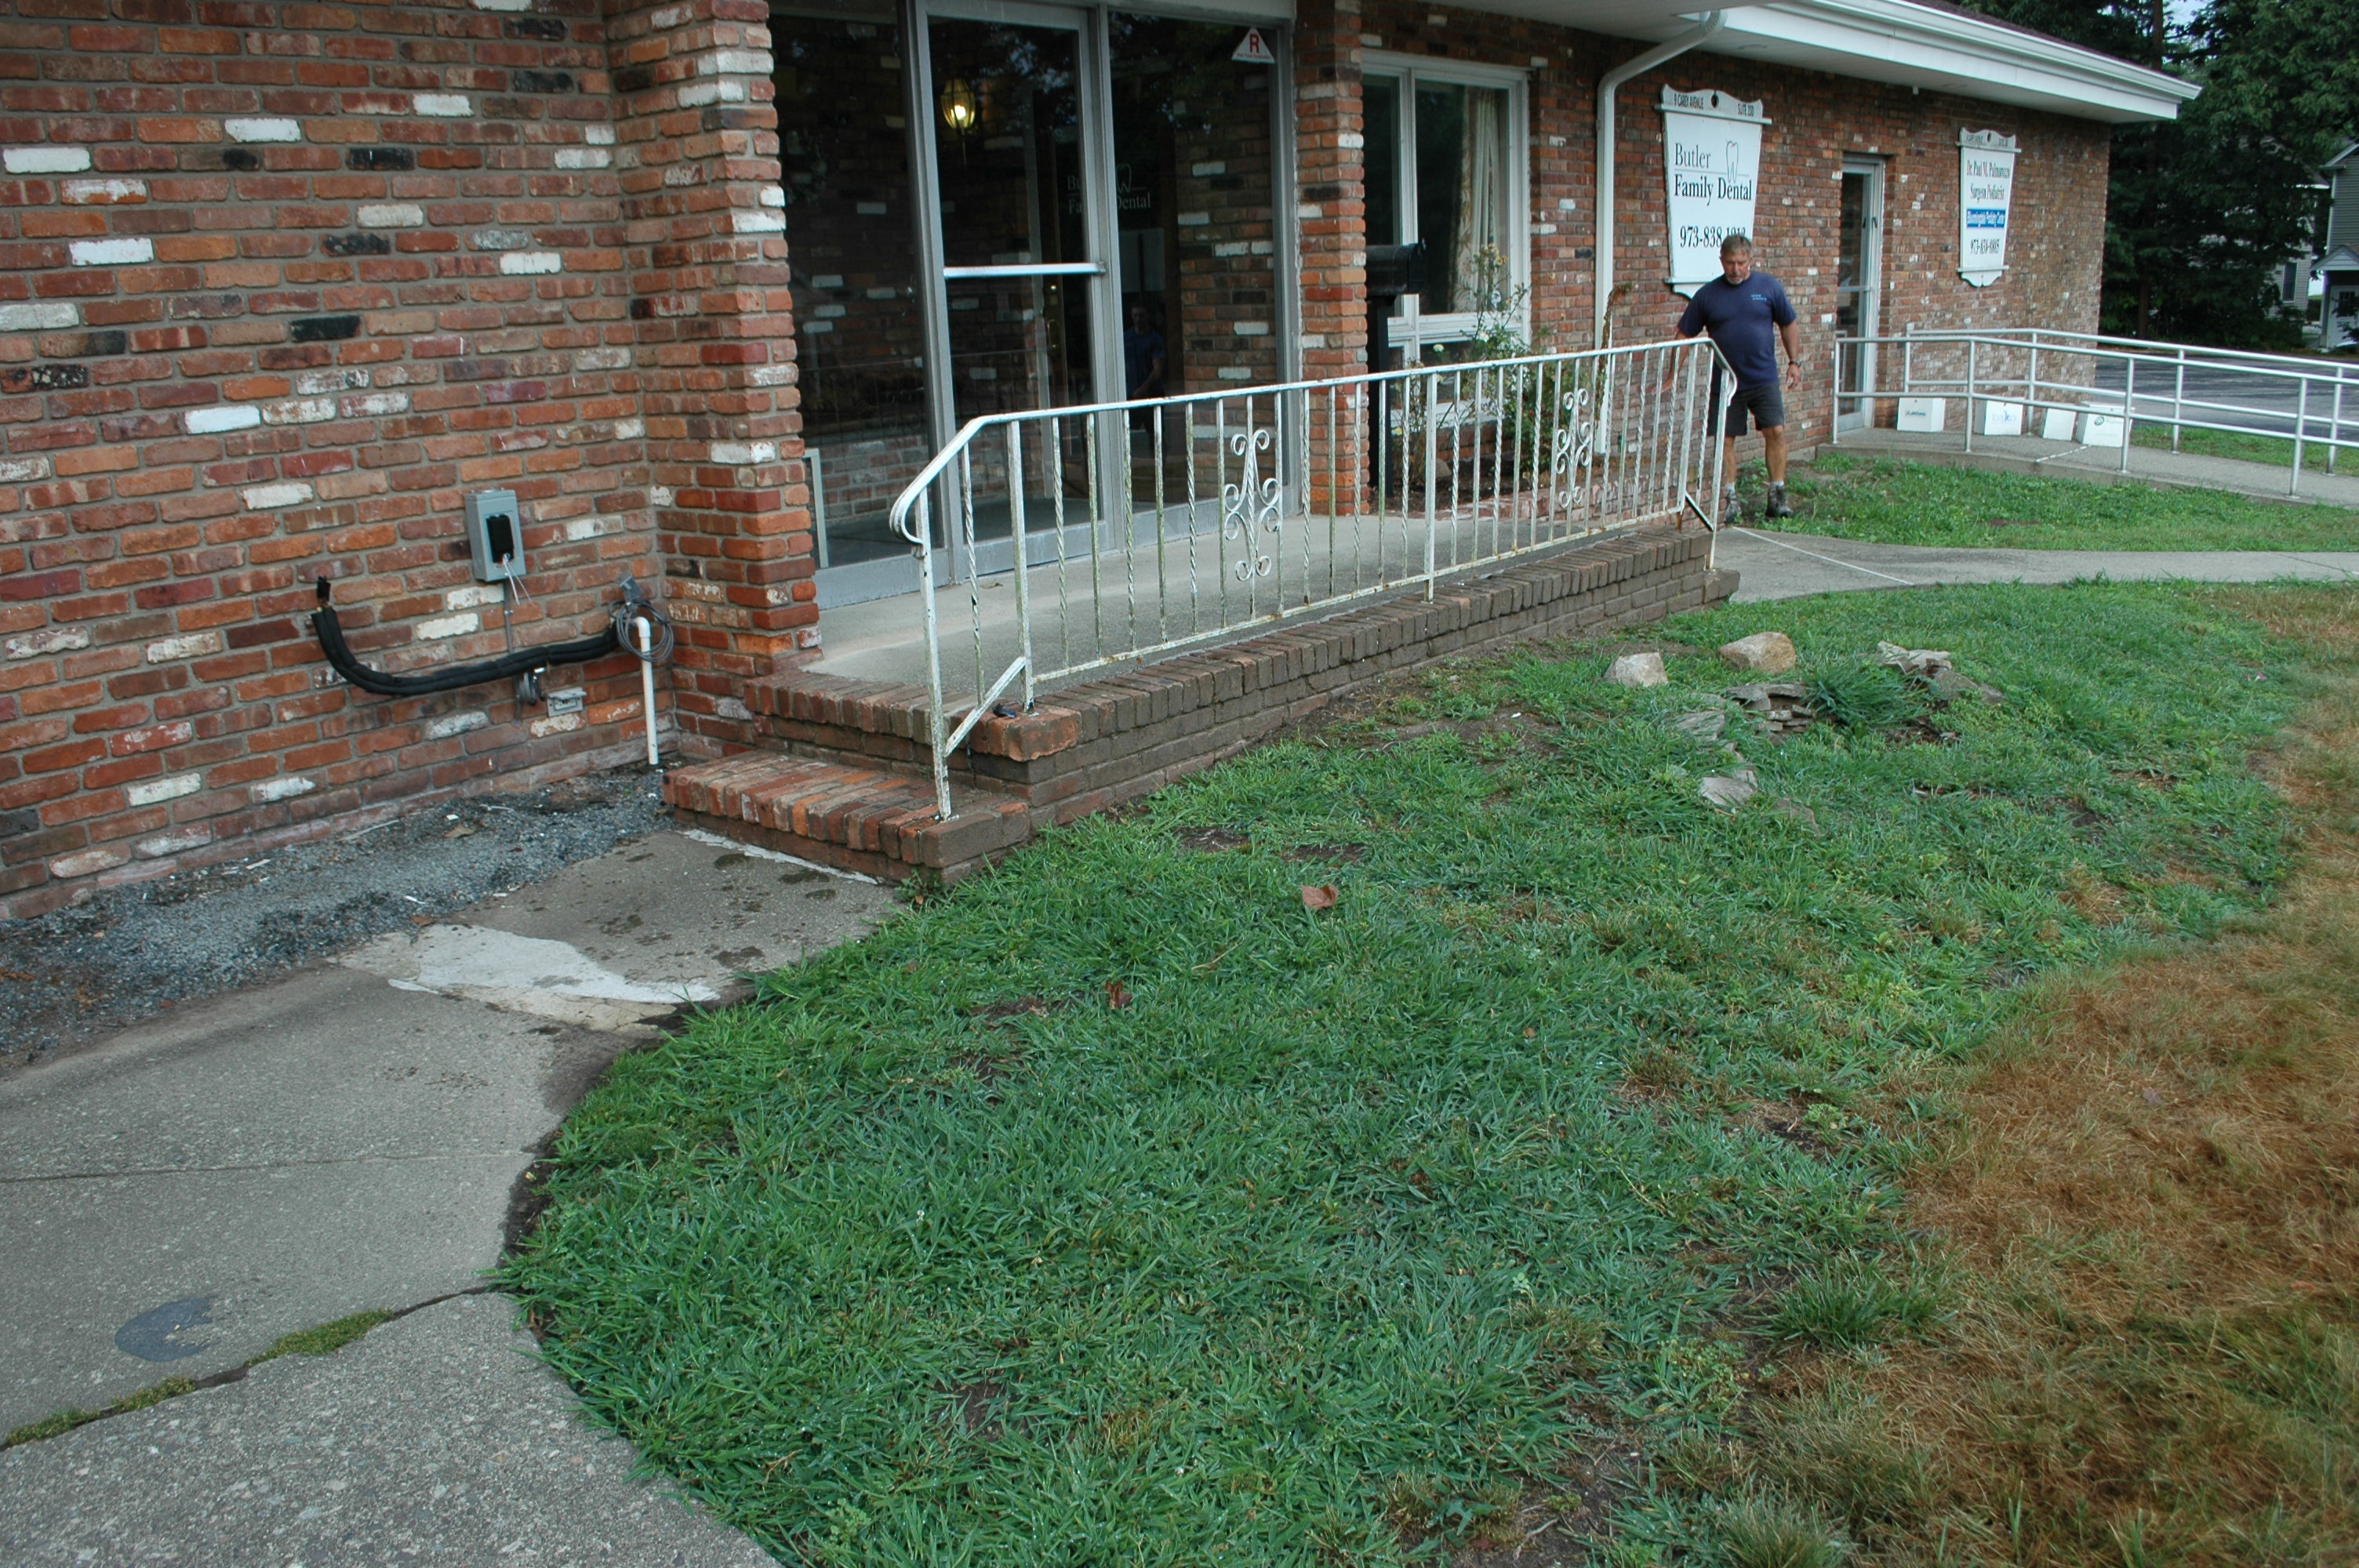
A couple of homeowners in West Milford, N.J., were looking to enhance the curb appeal of their house by enhancing the front entryway. They initially contacted us about the possibility of resurfacing concrete steps leading to the front door and pouring a new sidewalk from the driveway to the steps.

During the conversation, they mentioned their desire to have a covered front porch, but were worried about the possible costs associated with such a dramatic change.

We saw an opportunity. We could use our custom overlay product to create the illusion of a masonry front porch, which would get faced with cultured stone on all of the vertical areas. Our idea was to go in the direction of deck construction rather than block construction, then put one of our cast-in-place overlay systems over the wood deck.

Choosing a deck over block eliminated the need for large-scale excavation to pour footings. This was a major cost savings, since we are in a freeze-thaw environment and excavation would have to go down nearly 4 feet. Our way, all the deck contractor would need is a post-hole digger to remove enough earth to pour what would be considered typical deck footings.

This also eliminated the need to get another mason on-site to run up block and then fill in behind the block wall. Since we are able to do our cast-in-place stone over wooden structures, we were able to use the same product on the elevated area, the steps, and the sidewalk leading to the driveway. This creates a continuous look over all horizontal areas, which typically can only be offered over masonry substrates. With our deck construction process, we were able to save the homeowners thousands of dollars.

The process 

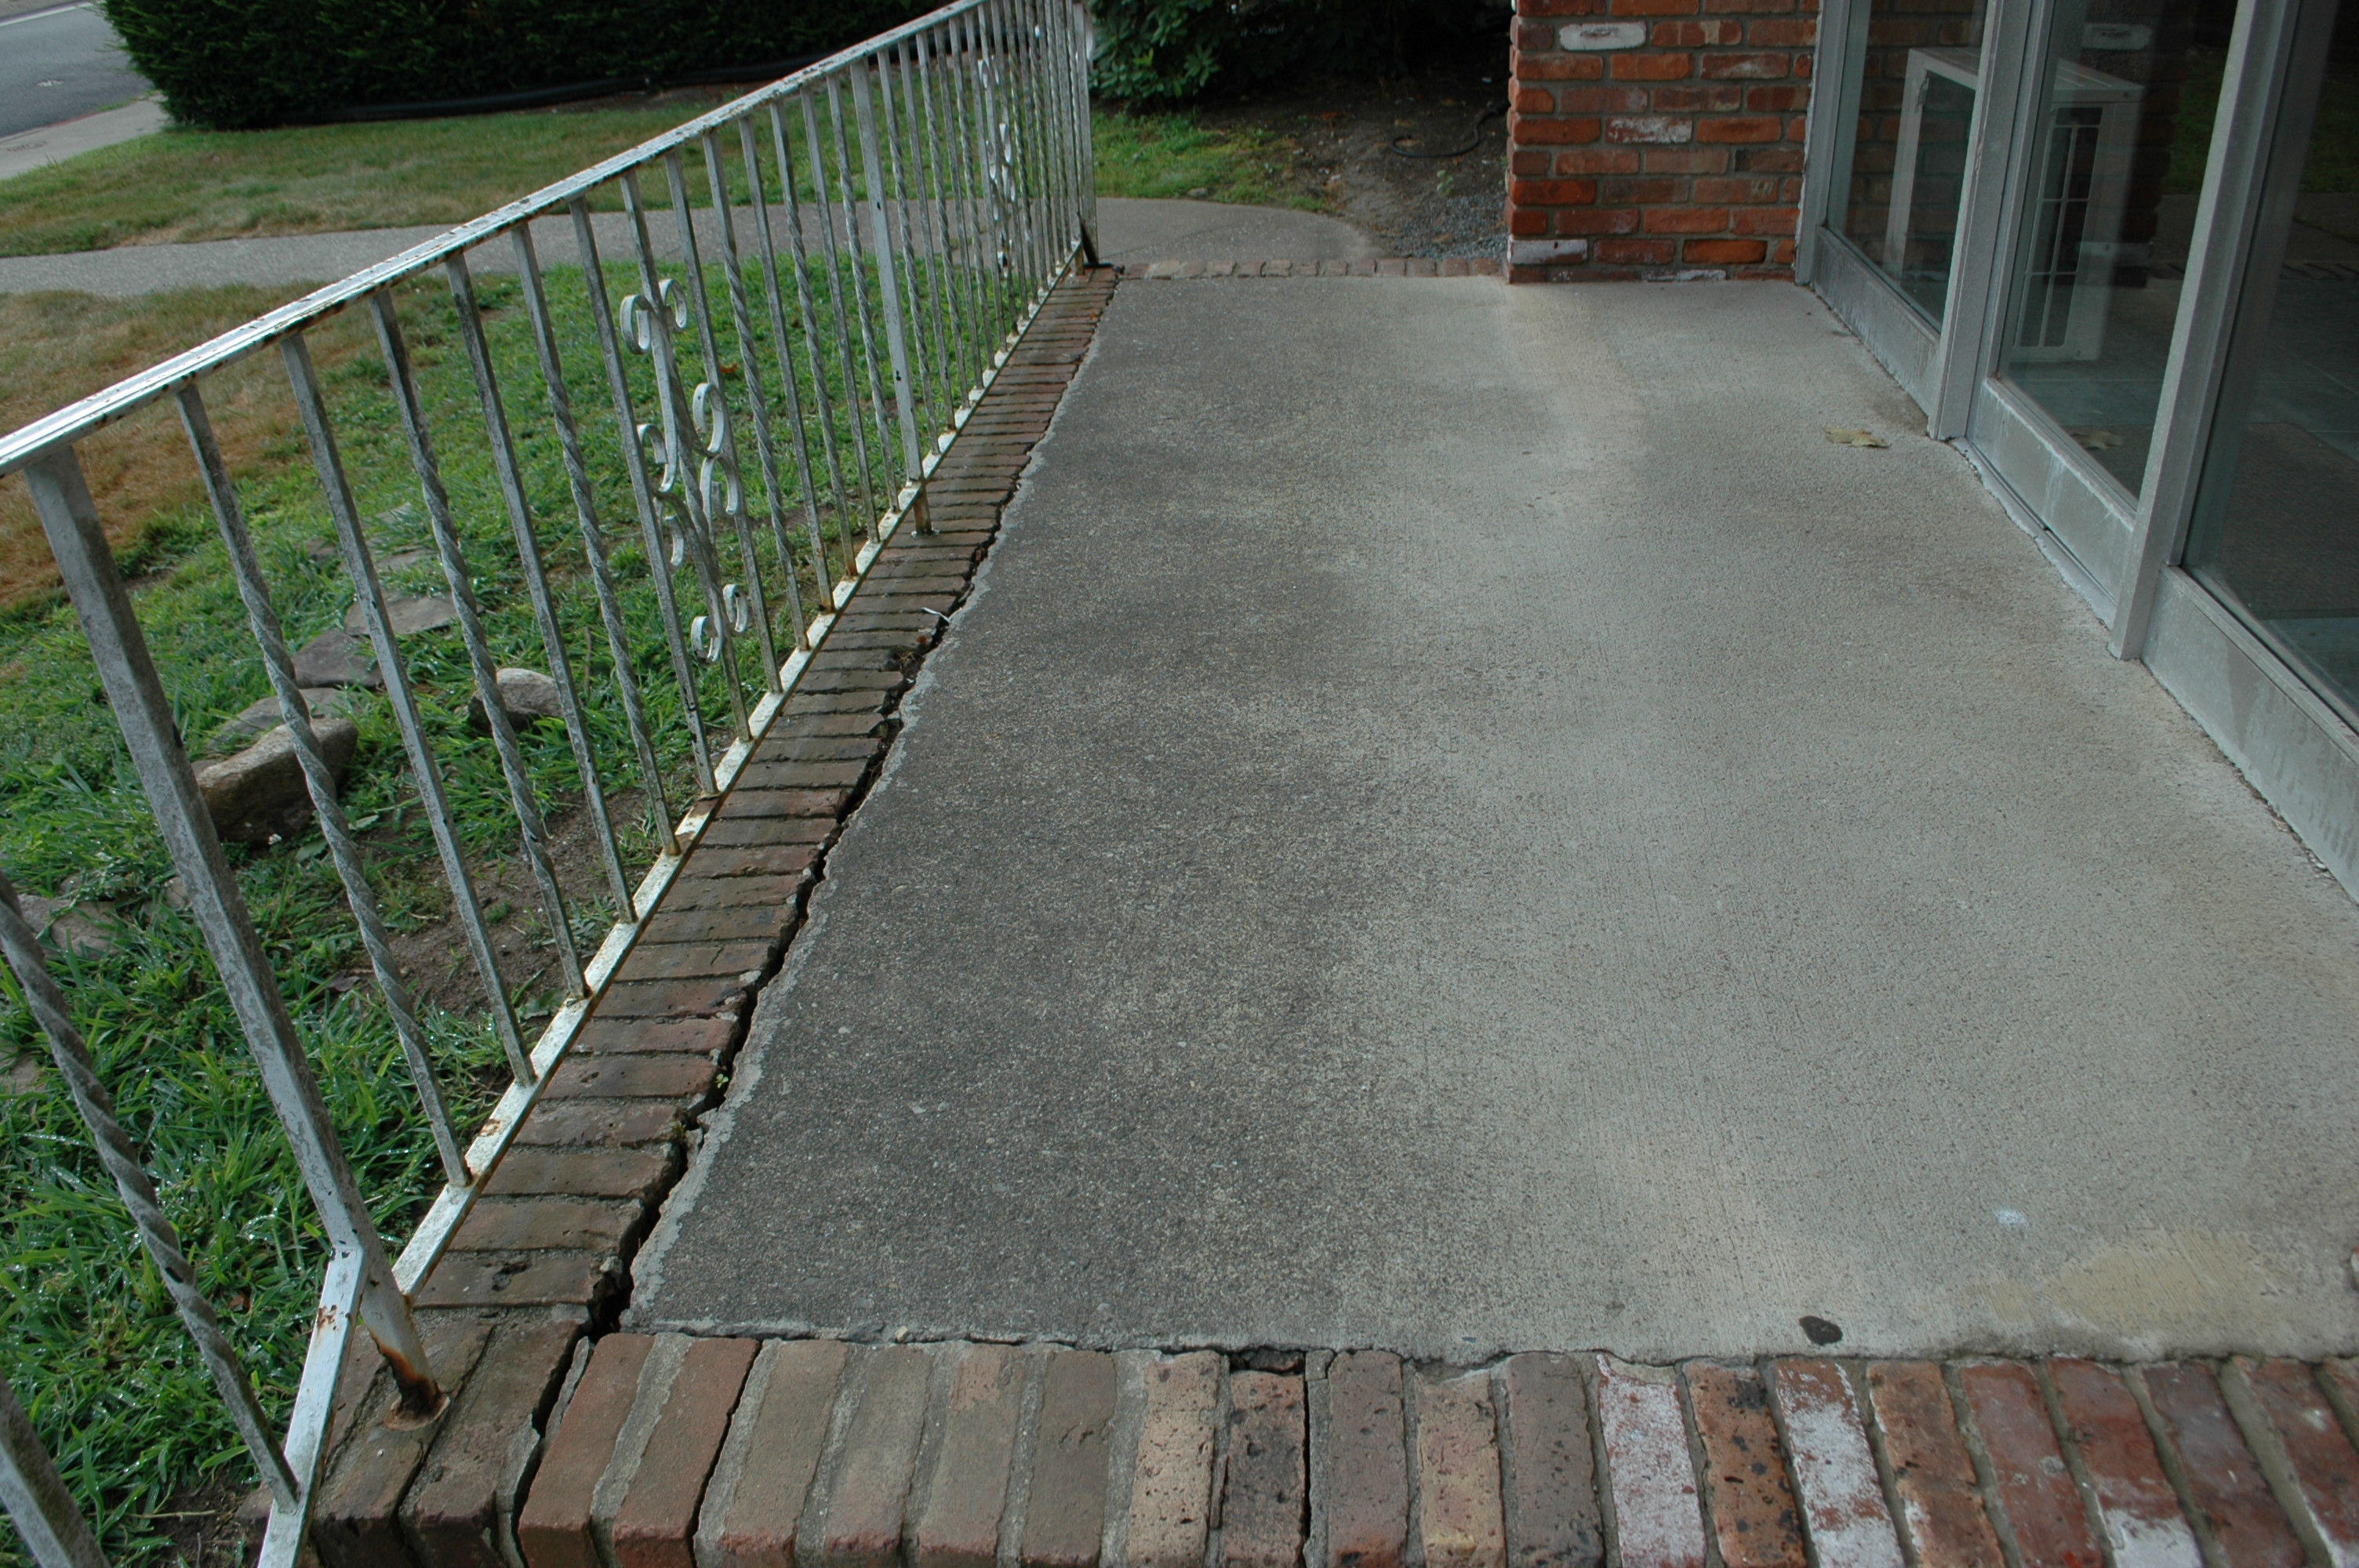
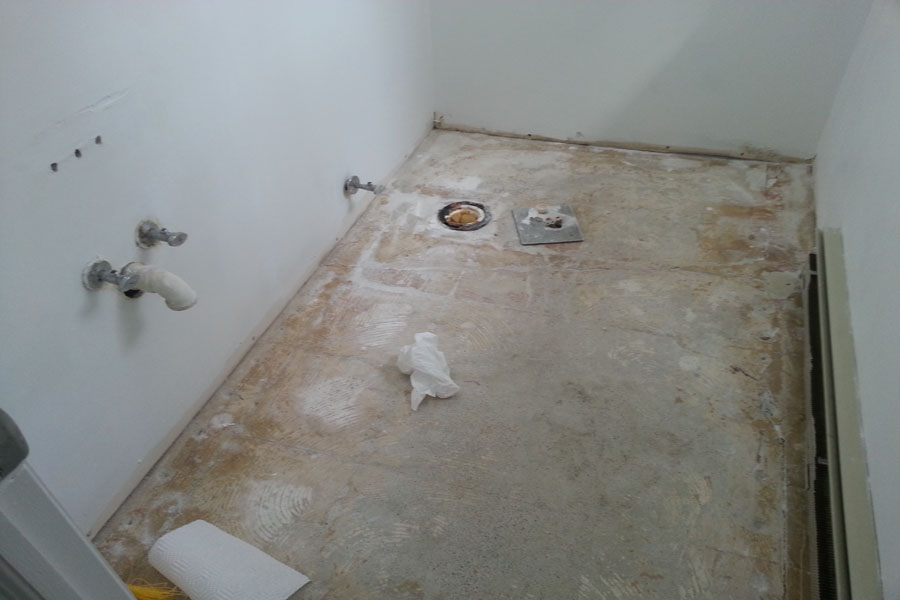
The project began with a deck contractor removing the existing concrete steps, landing and bluestone sidewalk. He then determined the footprint of the new deck as well as the amount and placement of the footings that would be required to support it. The footings were dug, poured and inspected.

Once the footings were poured and the deck construction started, we came in to install a vapor barrier and pour a slab underneath where the deck and steps would go. When this was completed, he was then able to finish the construction of the deck, stairs, and the roof over the deck. This deck was built with 2-by-10s 12 inches on center, then wrapped with 3⁄4-inch pressure-treated plywood.

All wood substrates were then wrapped with tar paper in order to avoid direct contact with the wood and concrete, and galvanized wire lath was nailed into place on both the vertical and horizontal areas.

The next step was to pour our structural layer, which is heavily reinforced with PVA fibers and polypropylene fibers. This mix also utilizes several admixtures that increase the hydration of the cement and minimize the amount of water needed to make this high-fiber mix workable. After this mix is placed, it is scarified to ensure an excellent bond with our concrete overlay. This mix is applied to the deck and the steps at a thickness of 1 inch as long as there is pitch built into the deck. (If it is not, we must establish pitch in some way.) With the chemicals added to this mix, it is extremely moisture-resistant, which is a necessity when pouring over a wooden substrate.

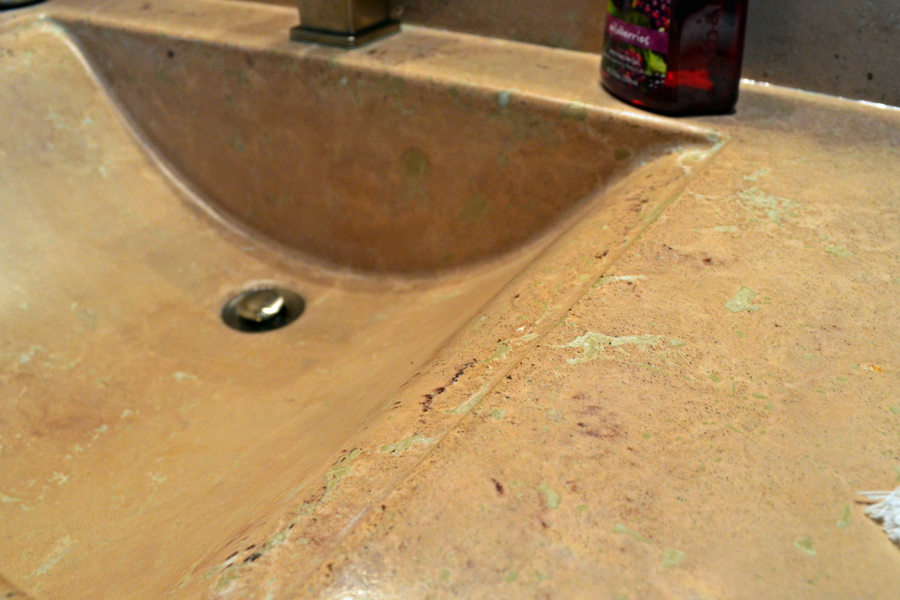
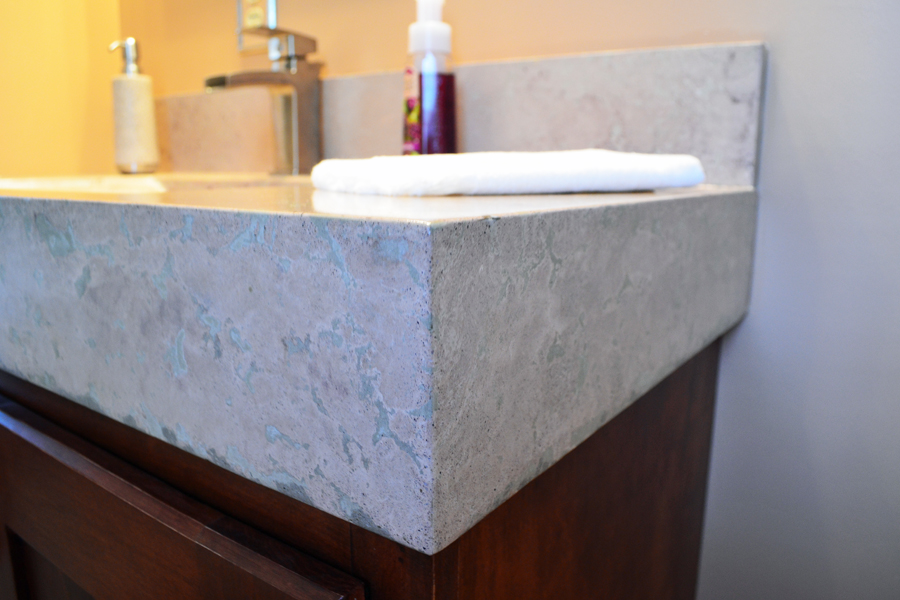
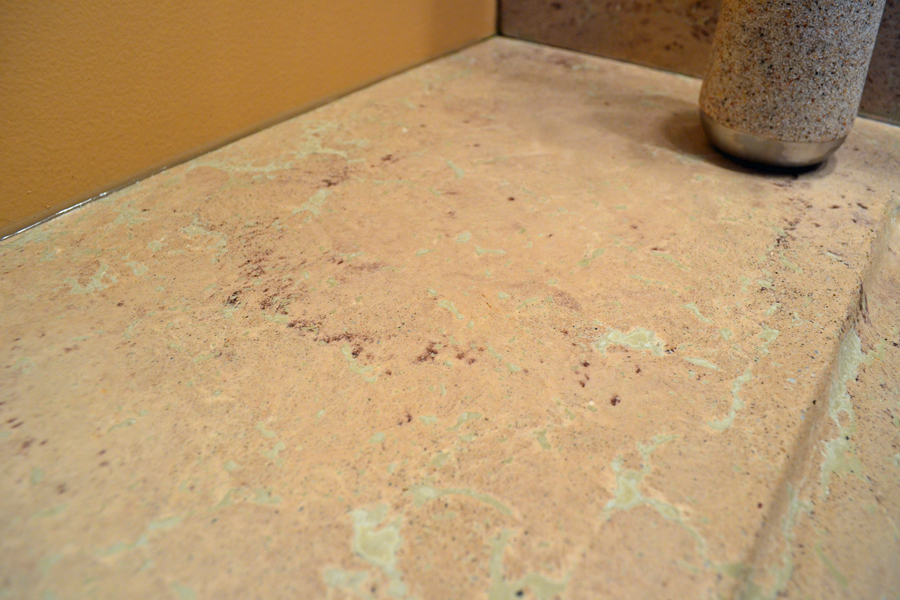
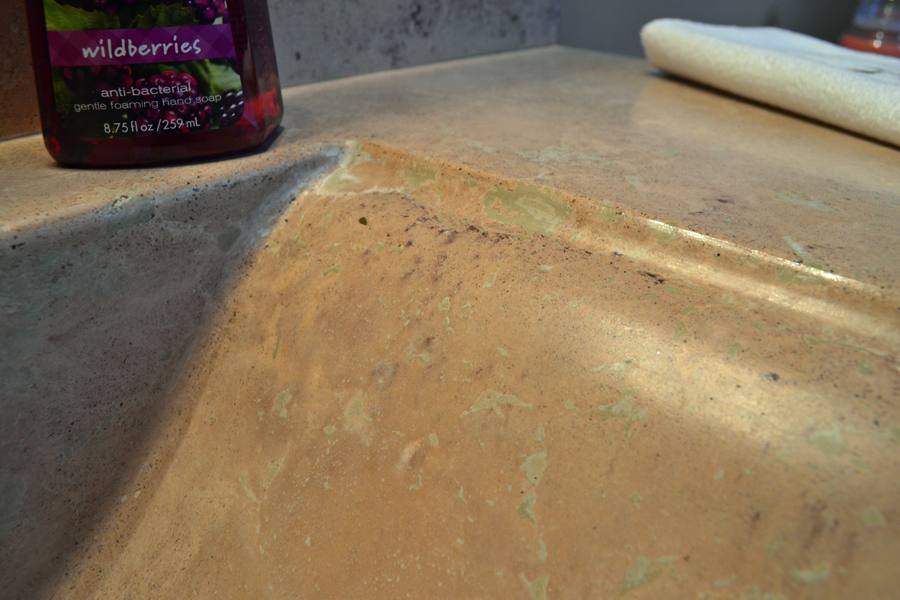
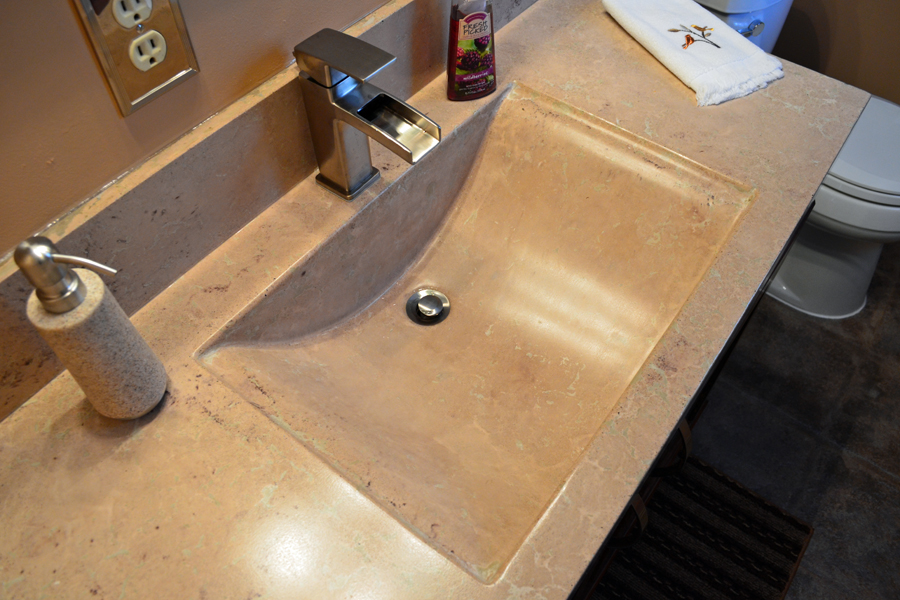
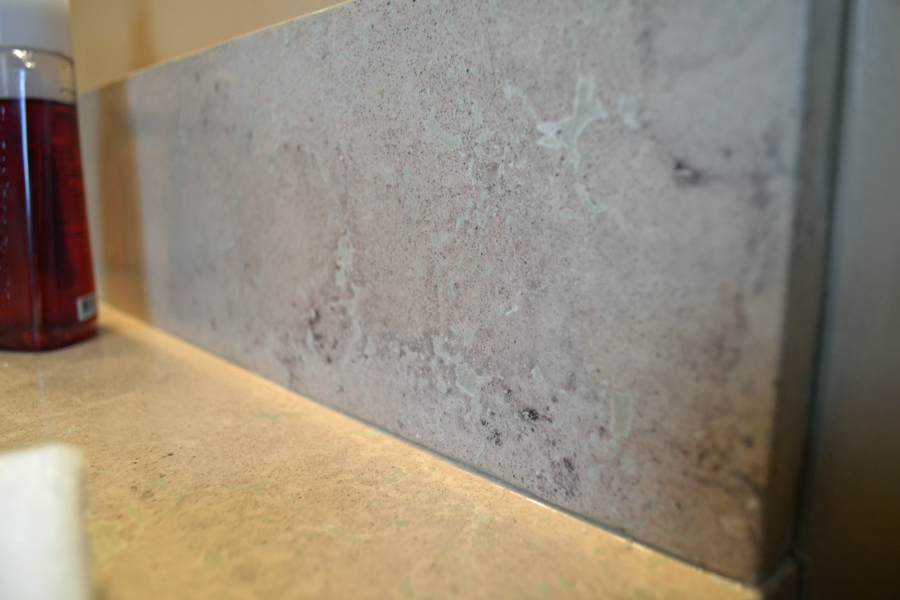
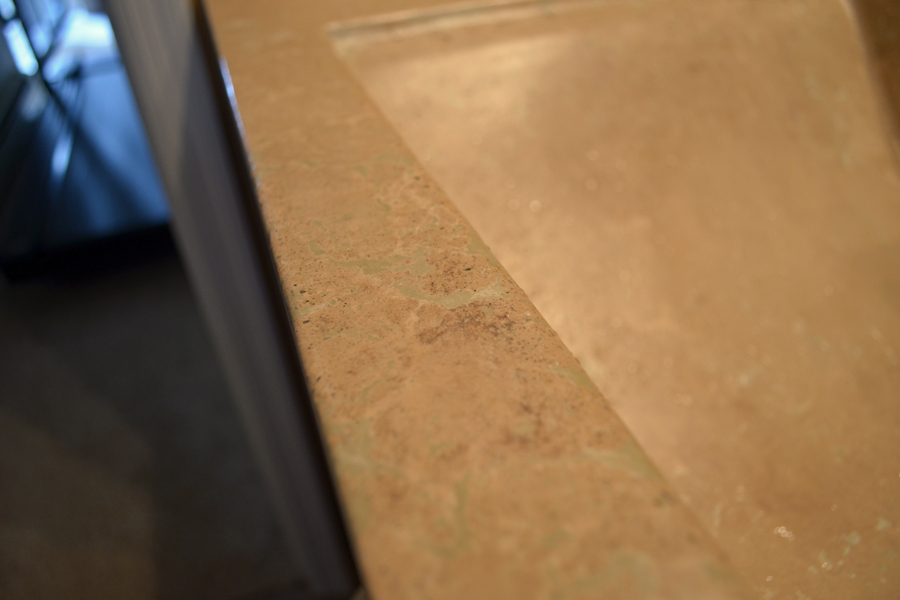
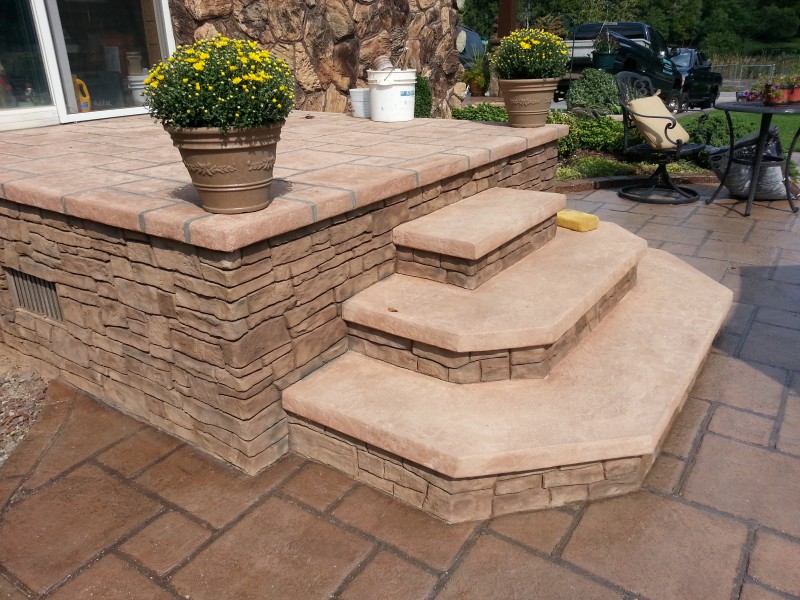
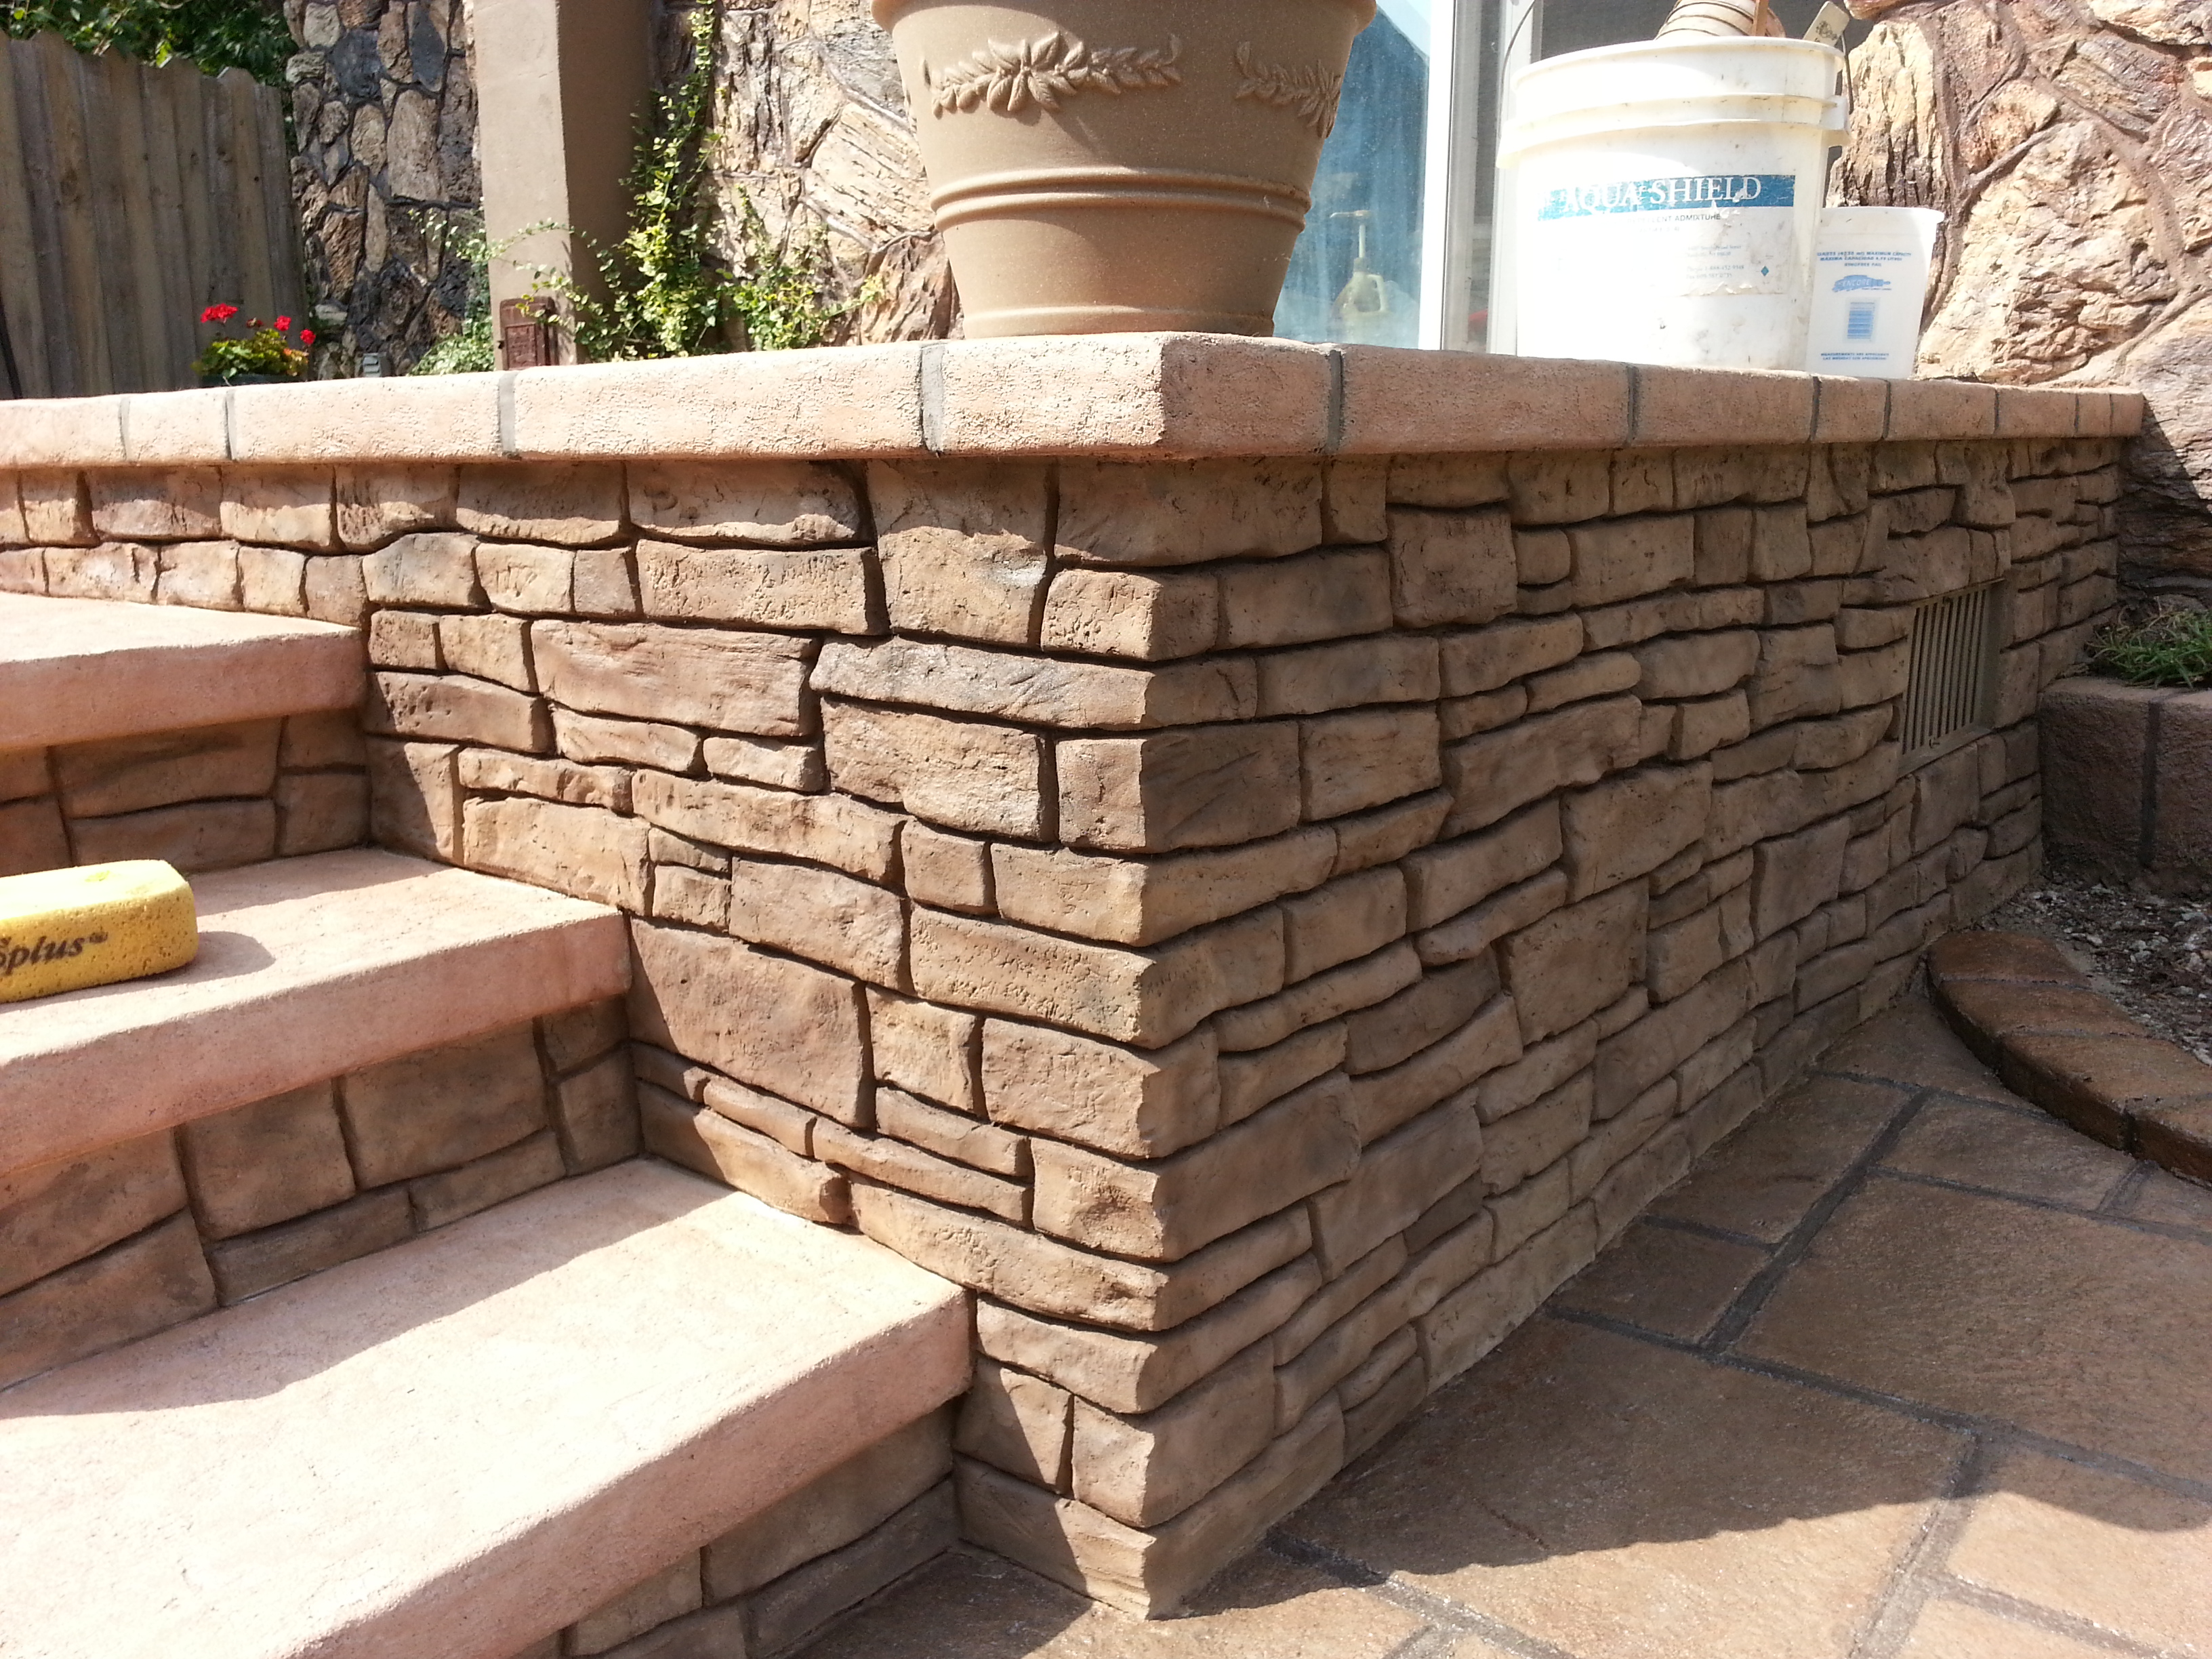
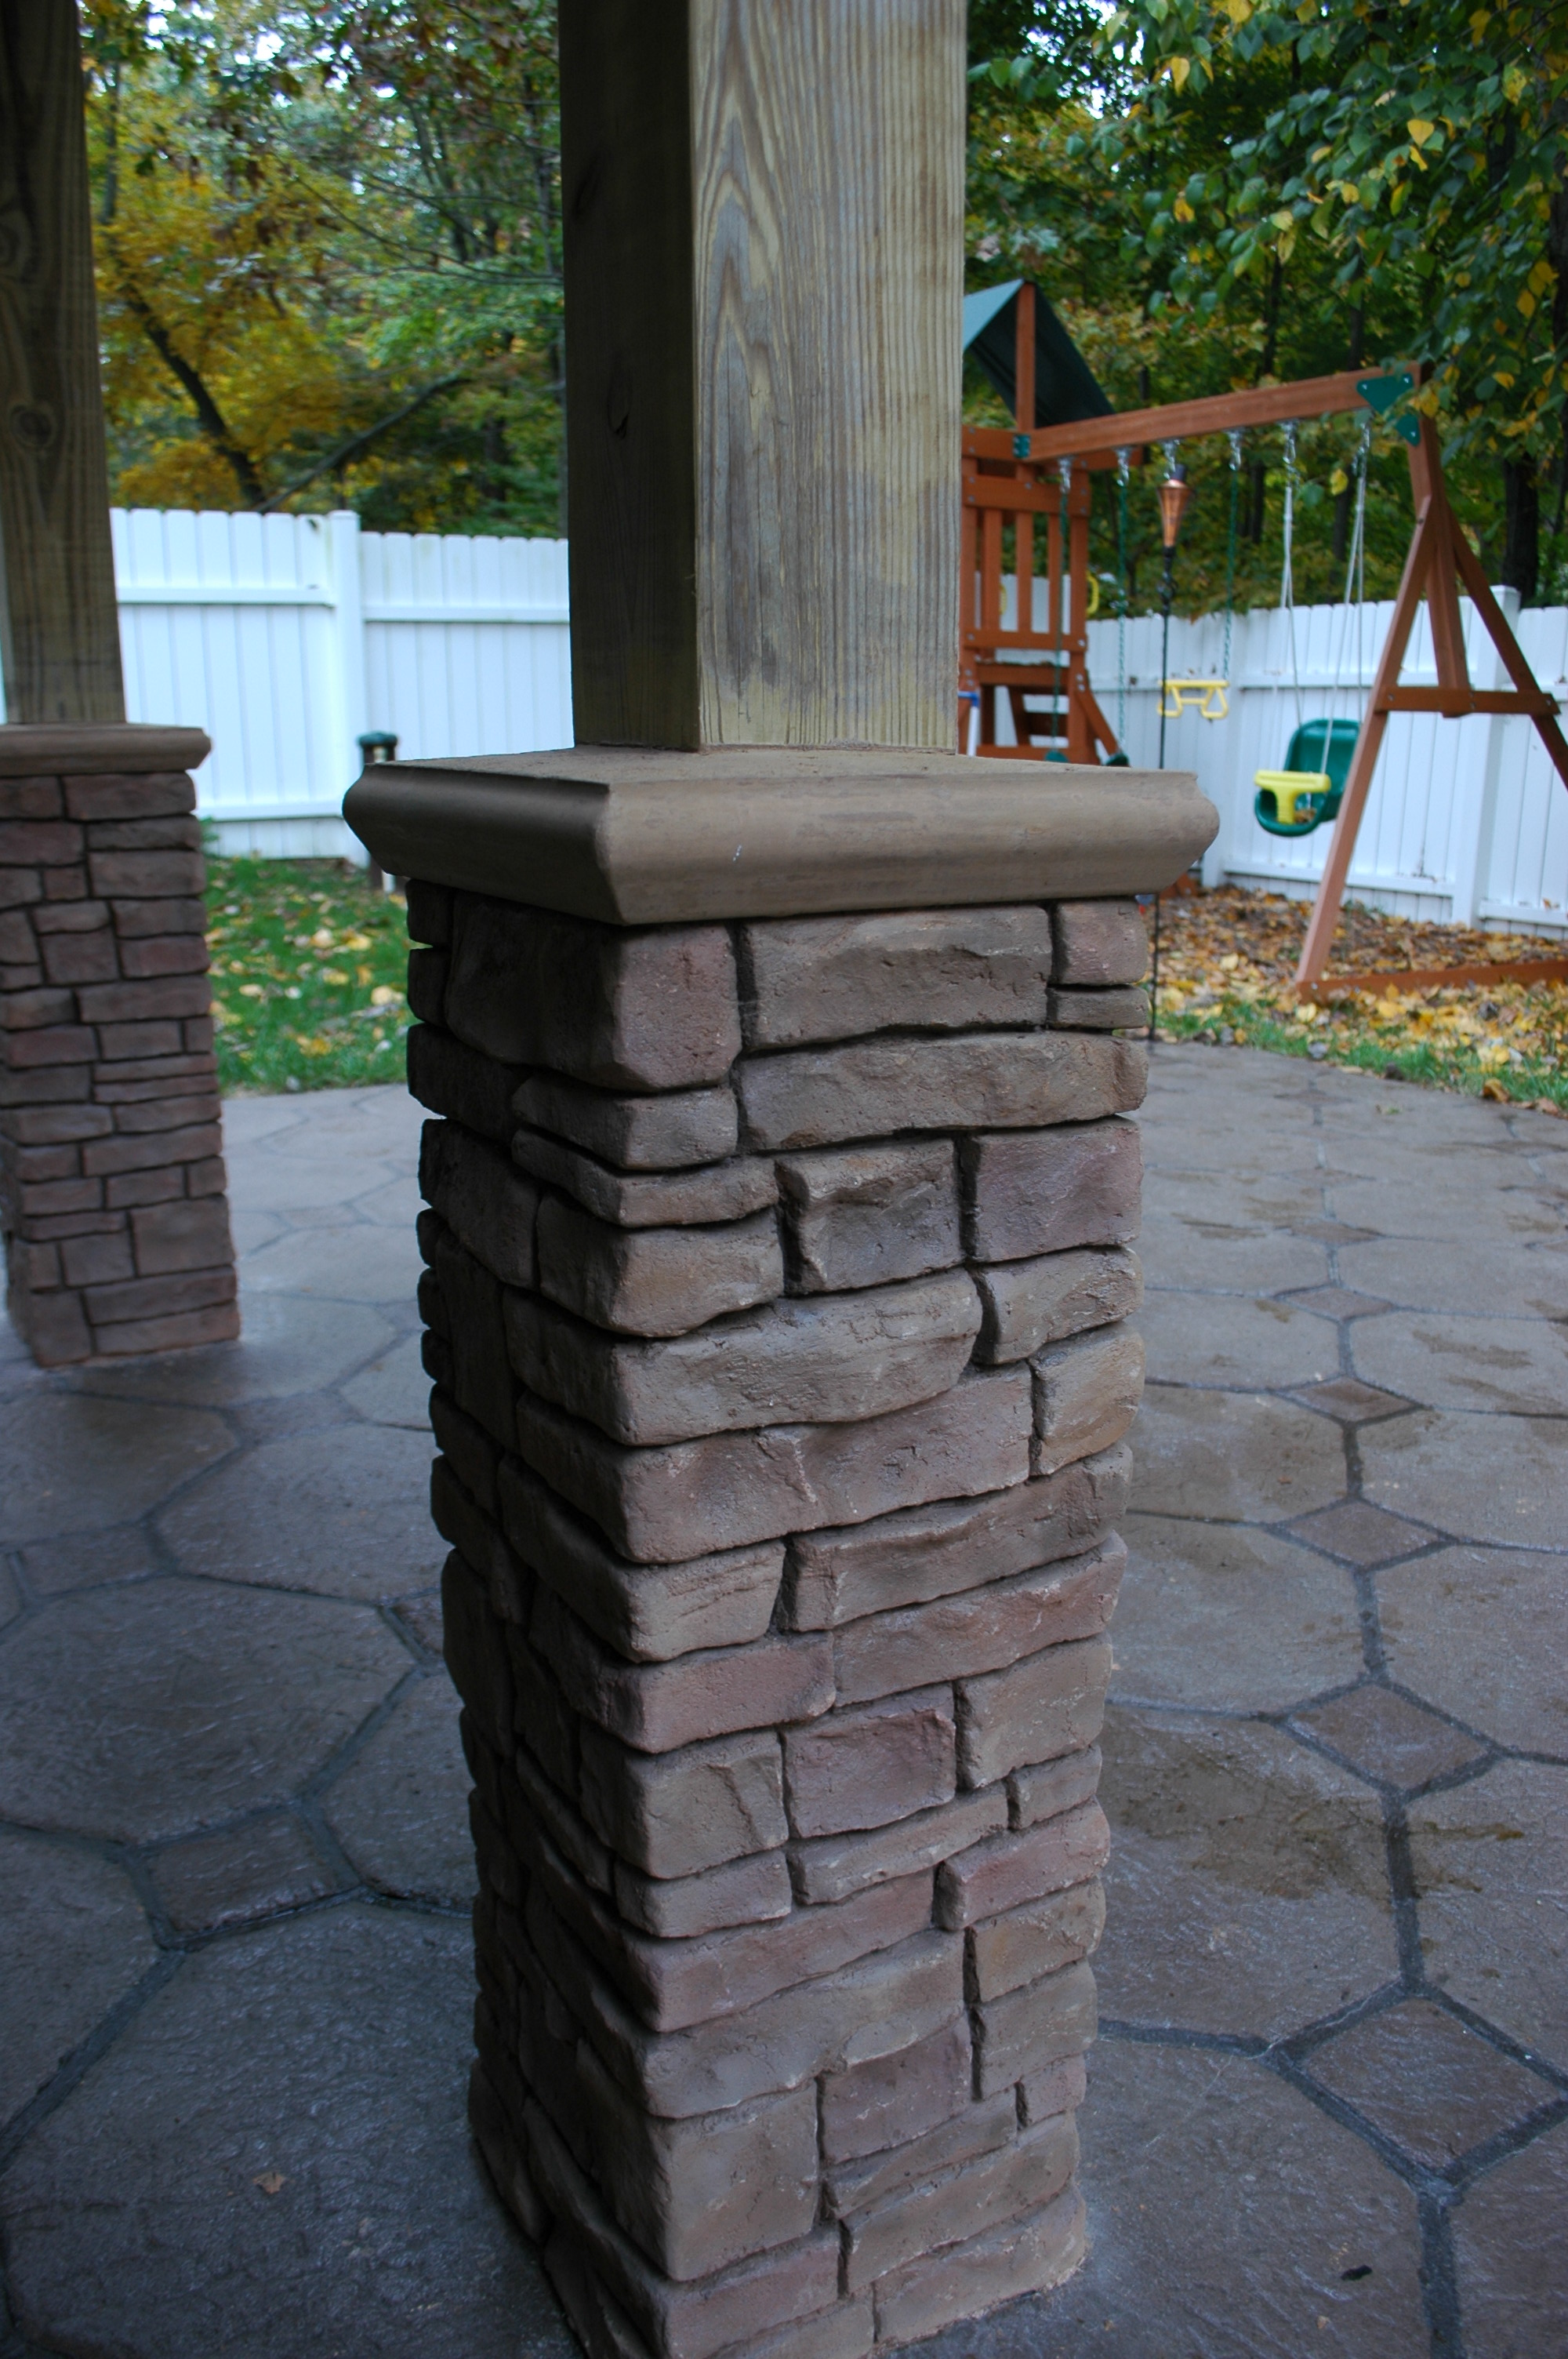
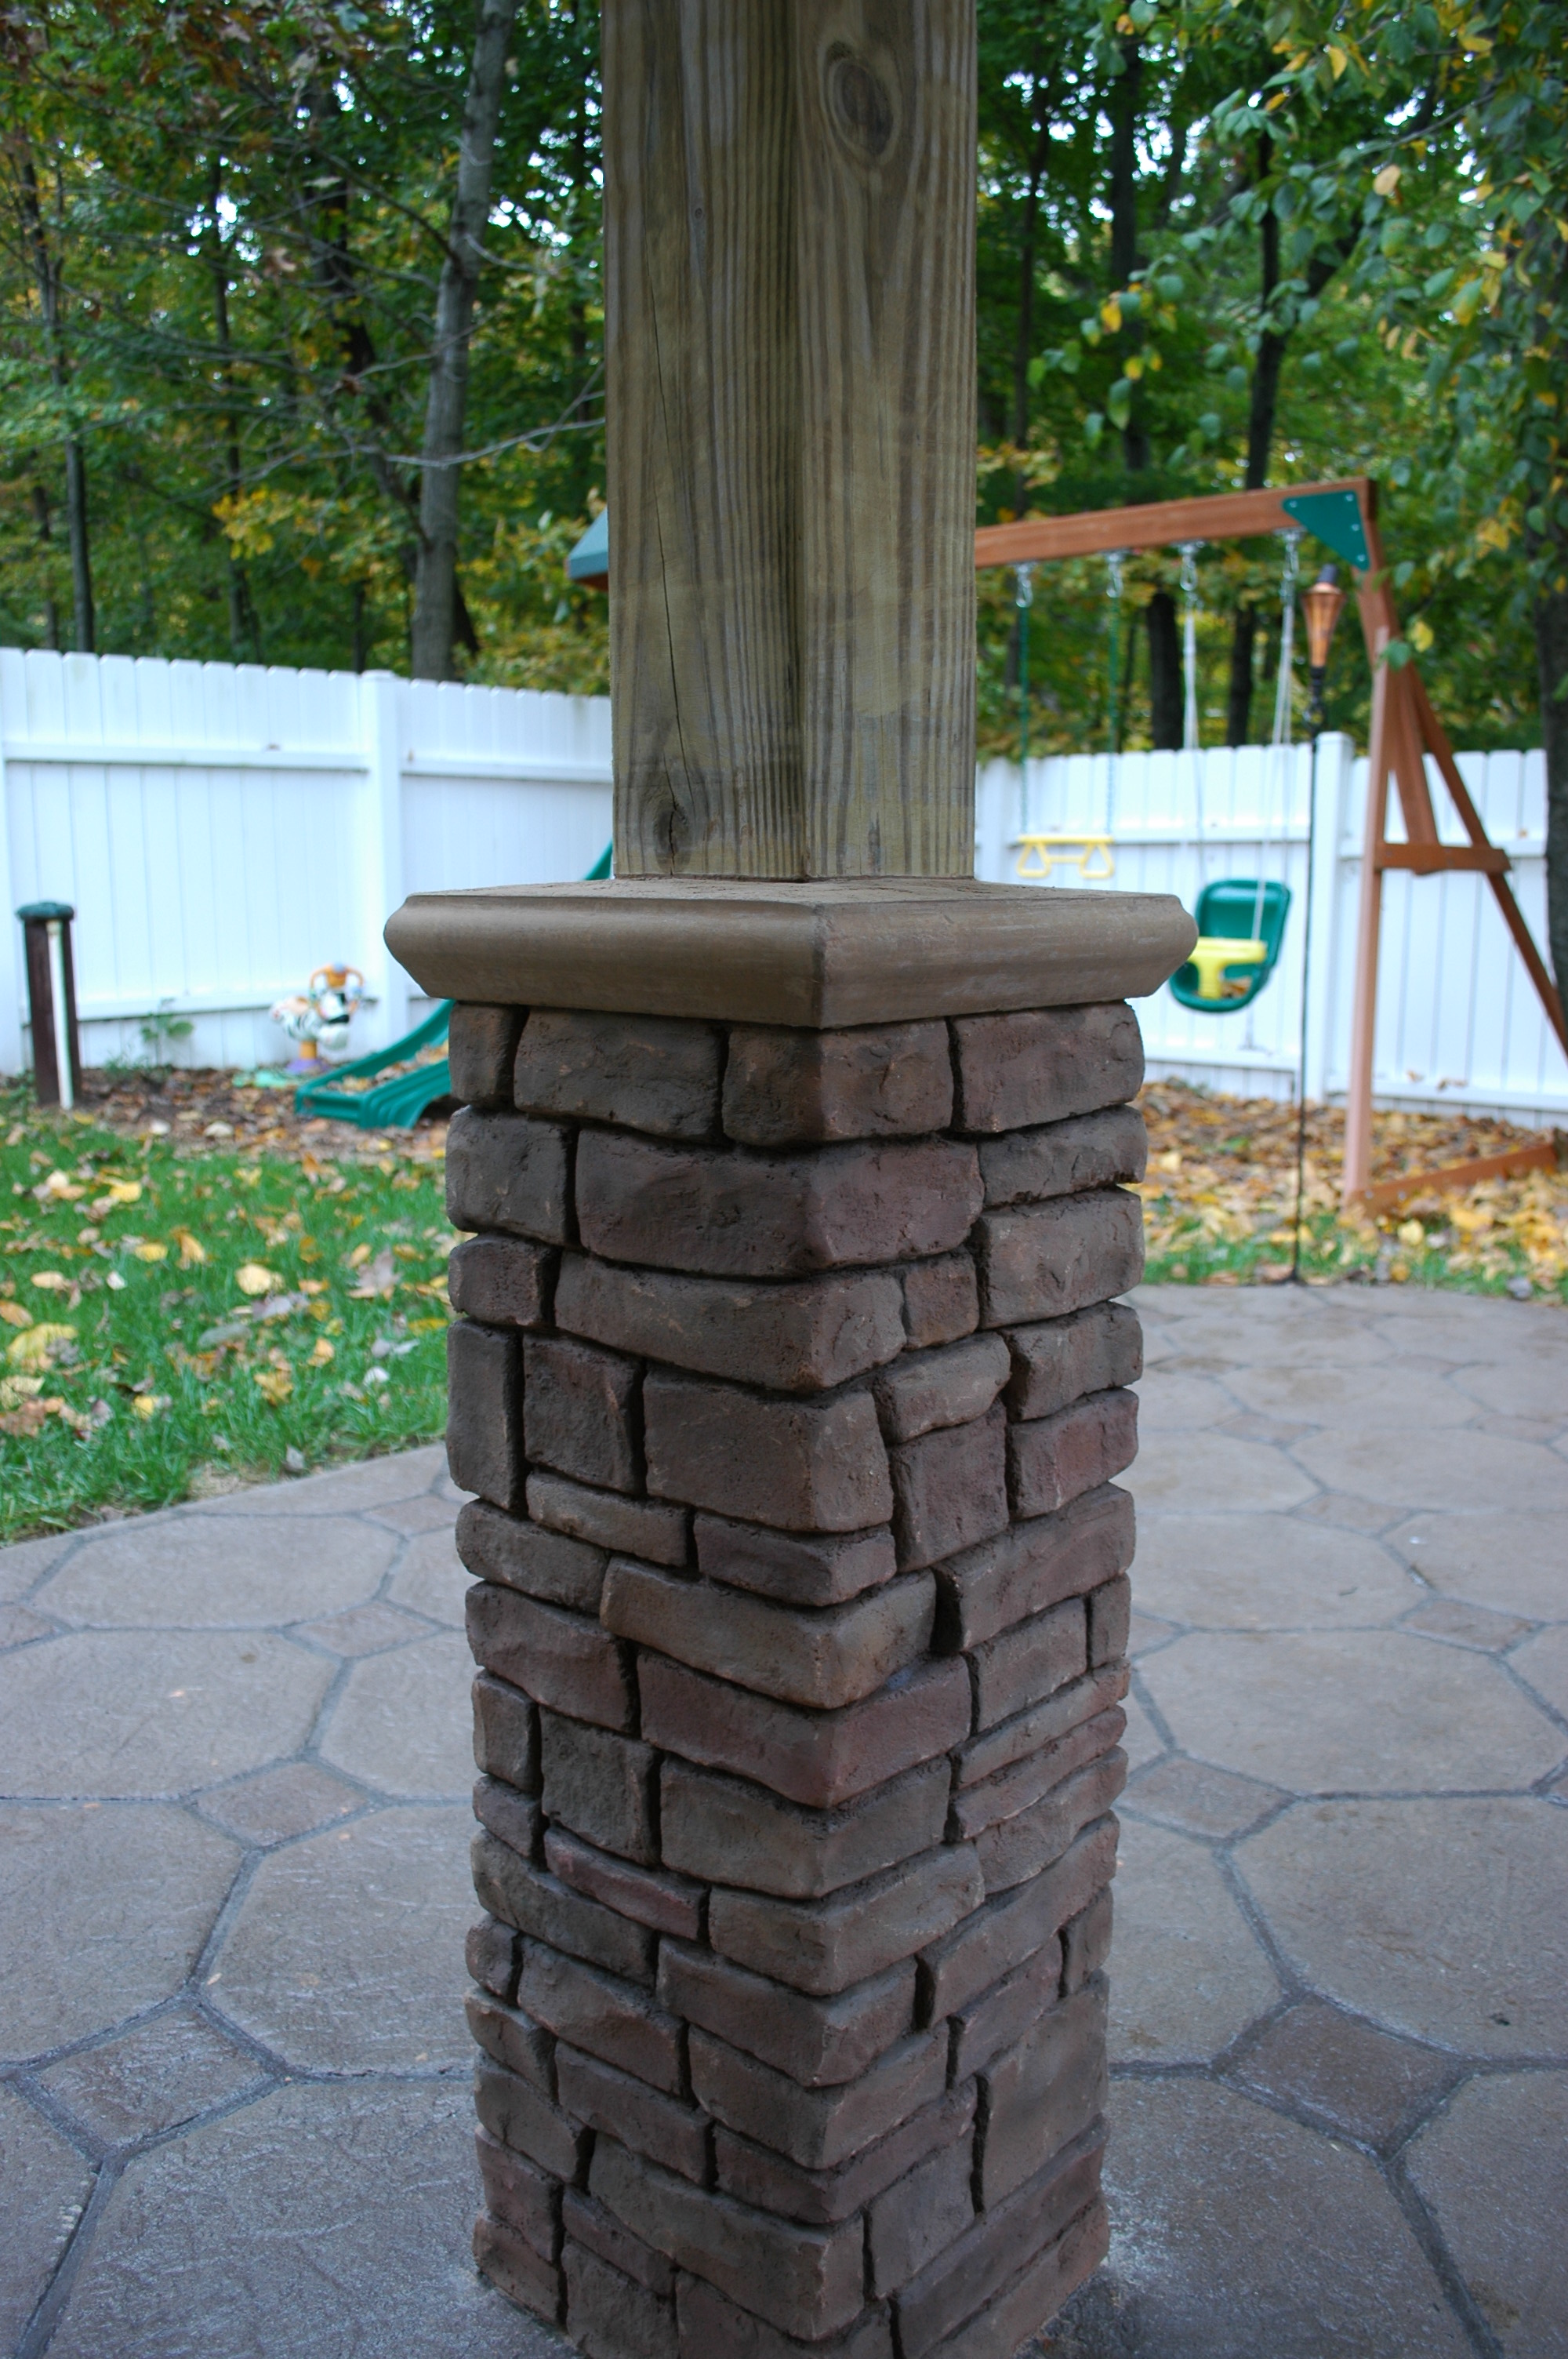
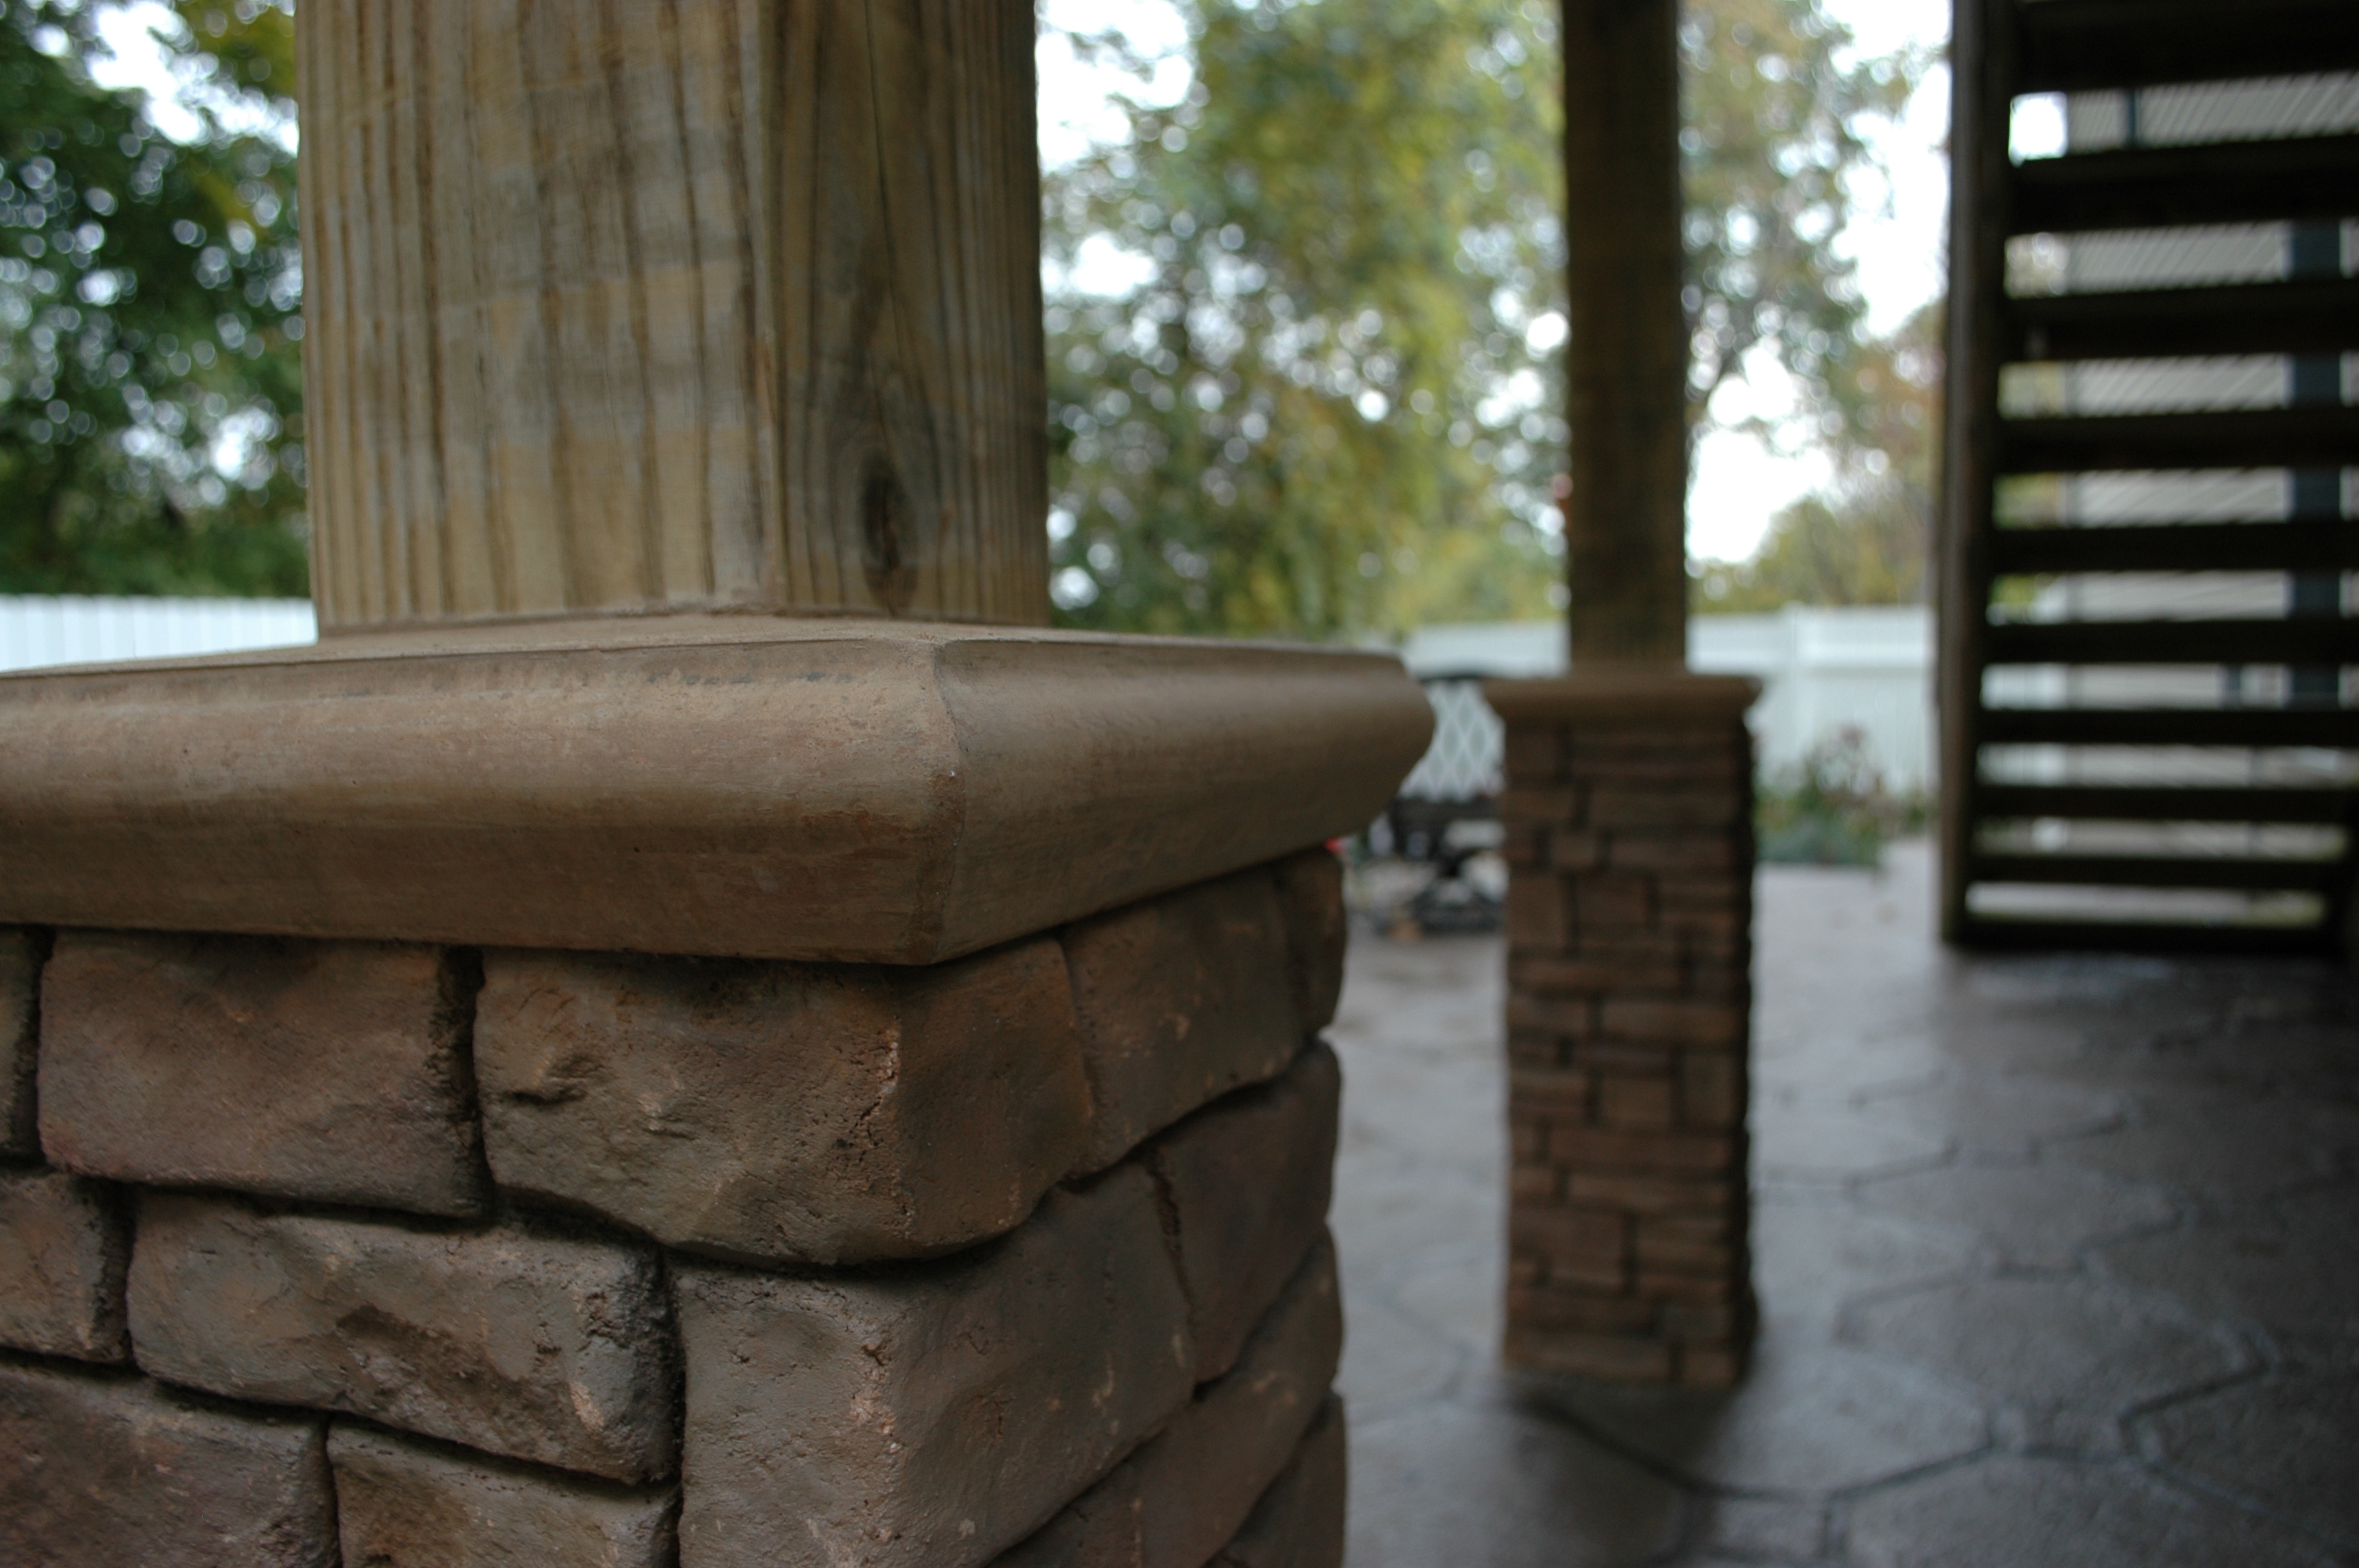
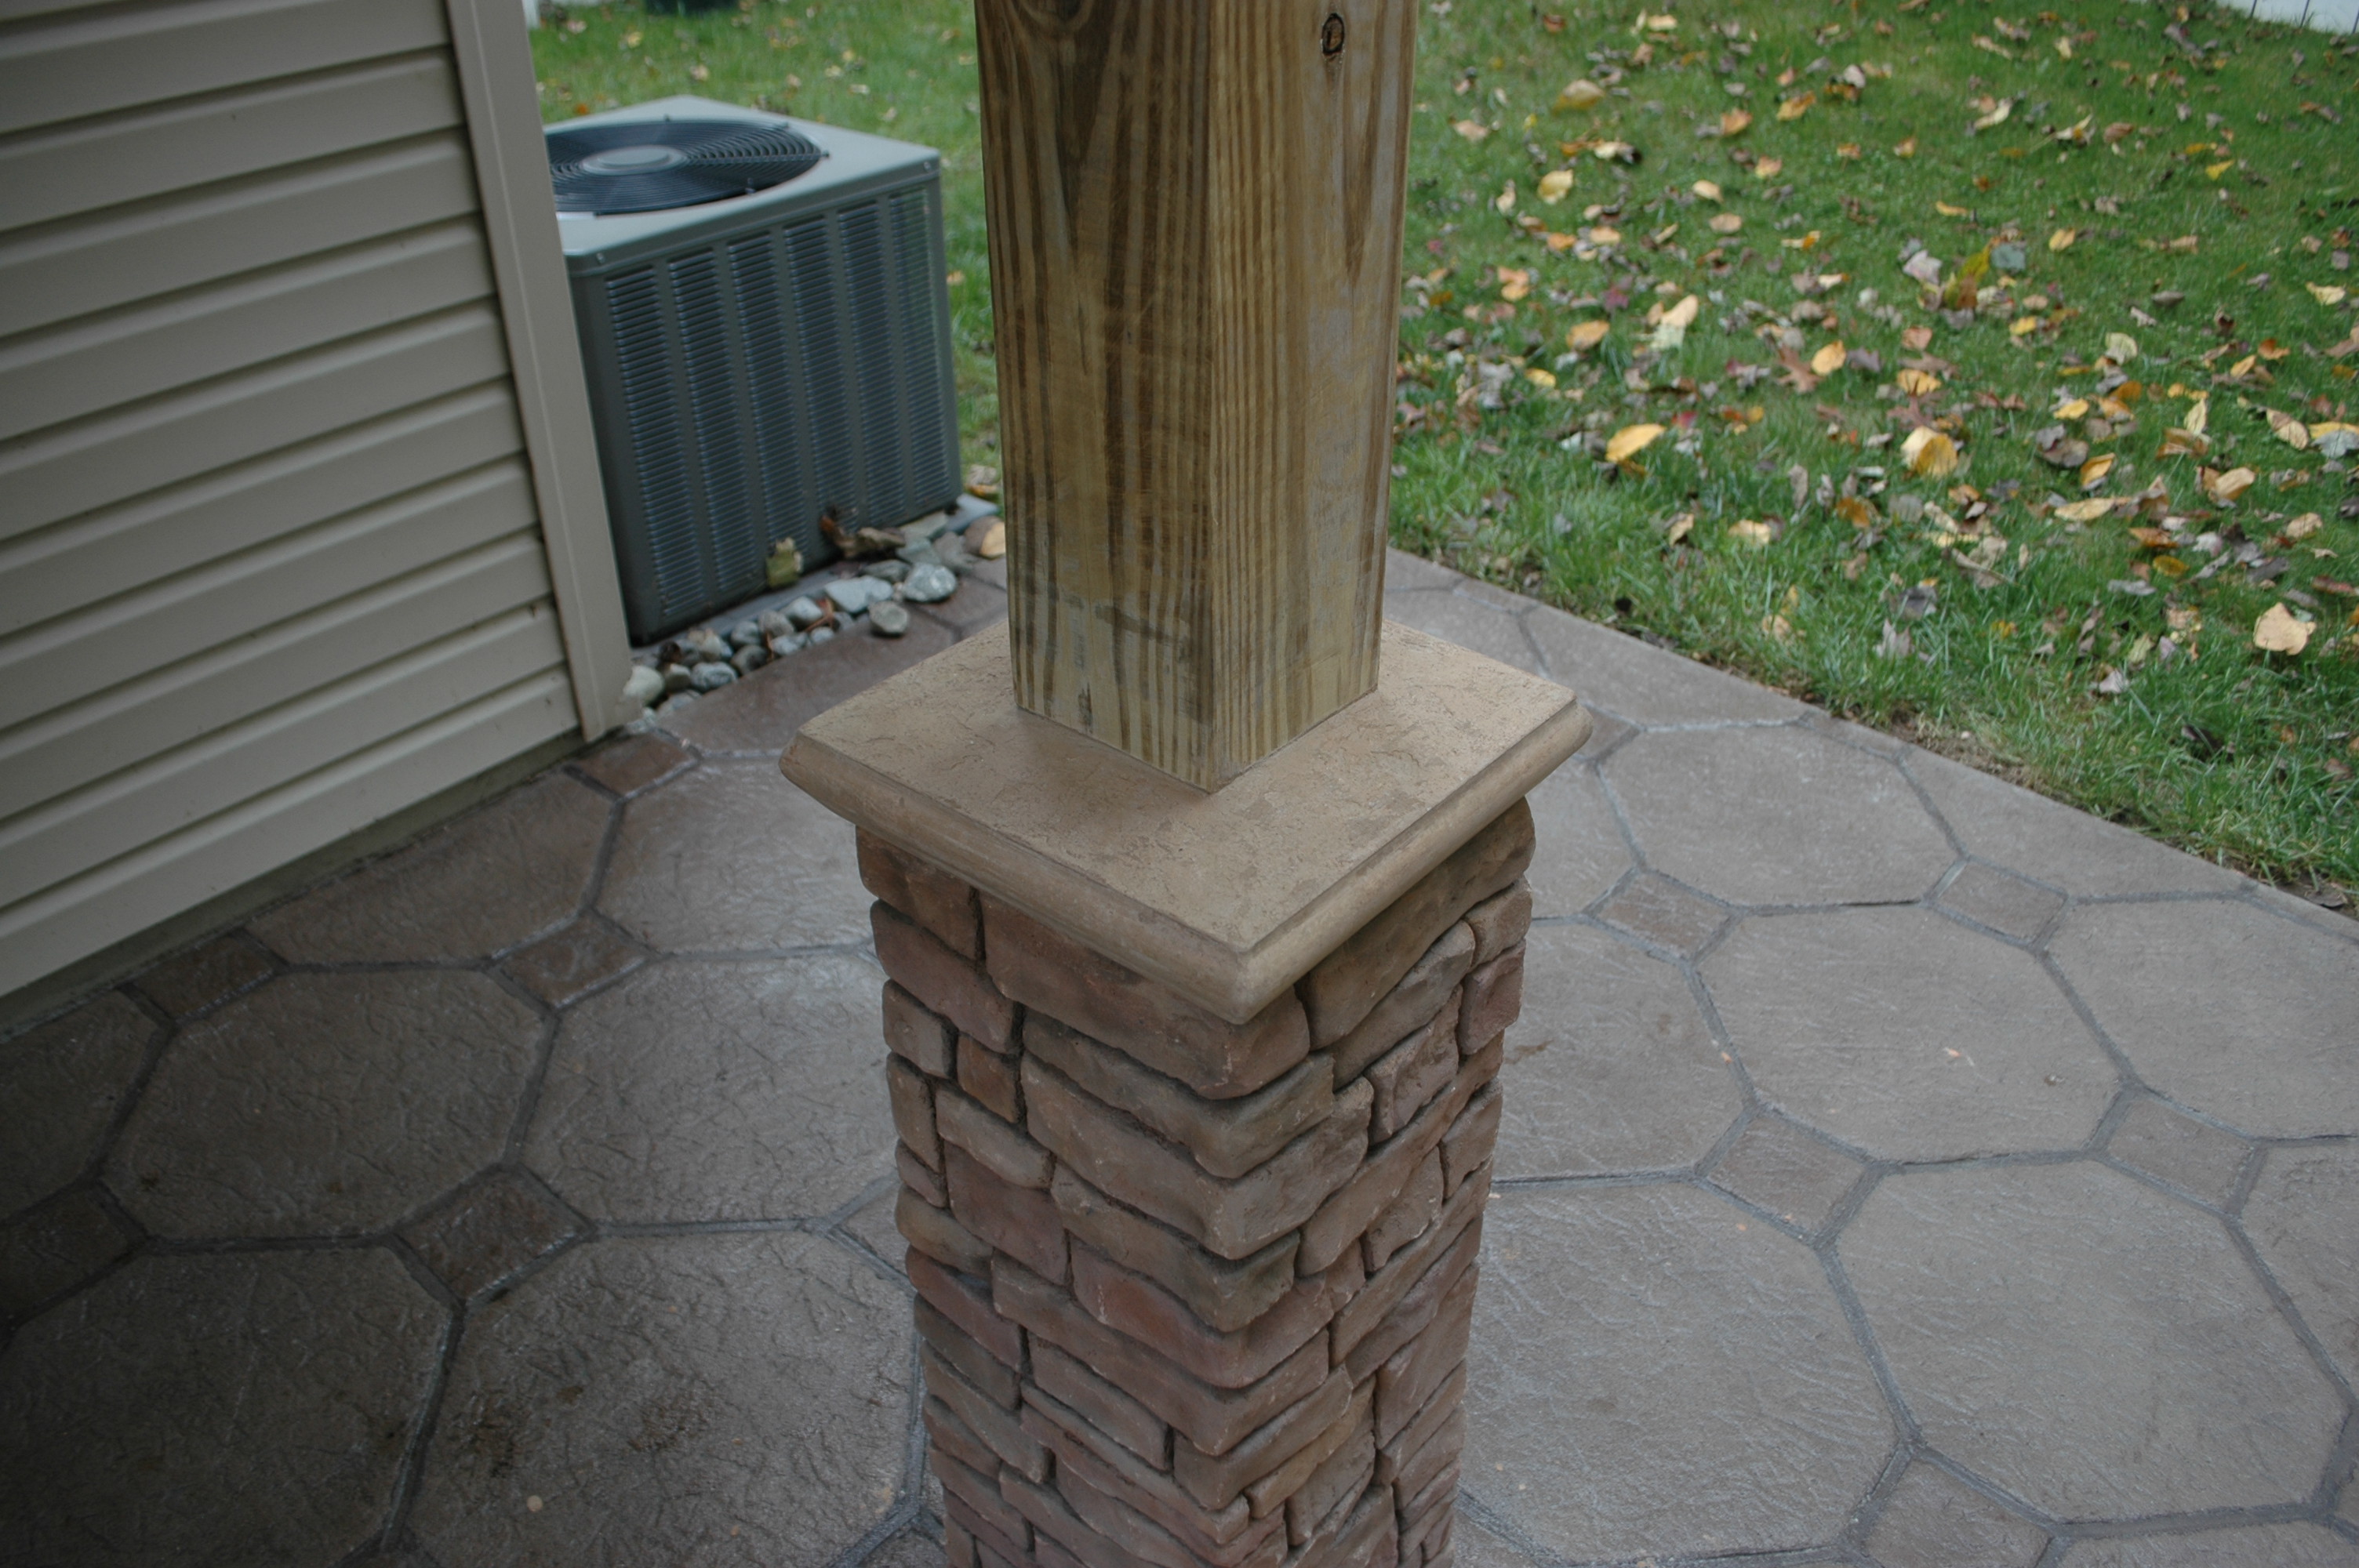
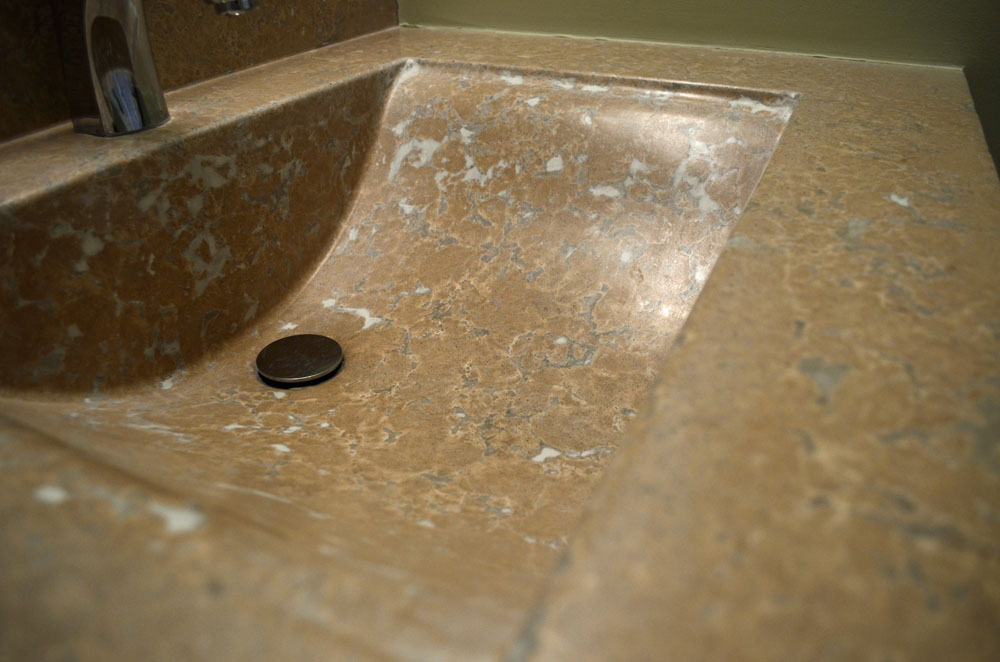
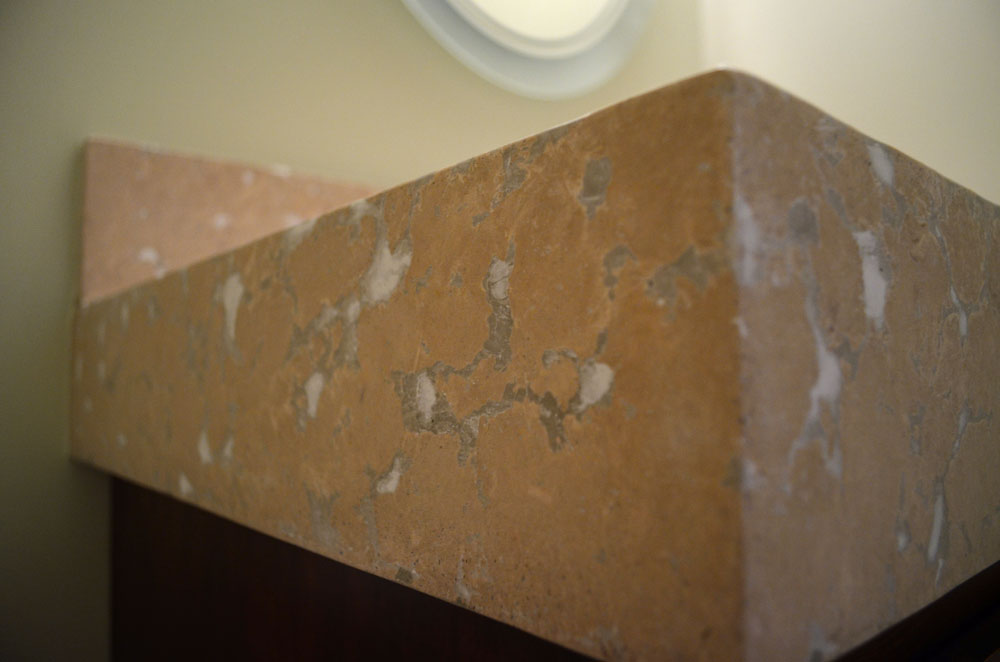
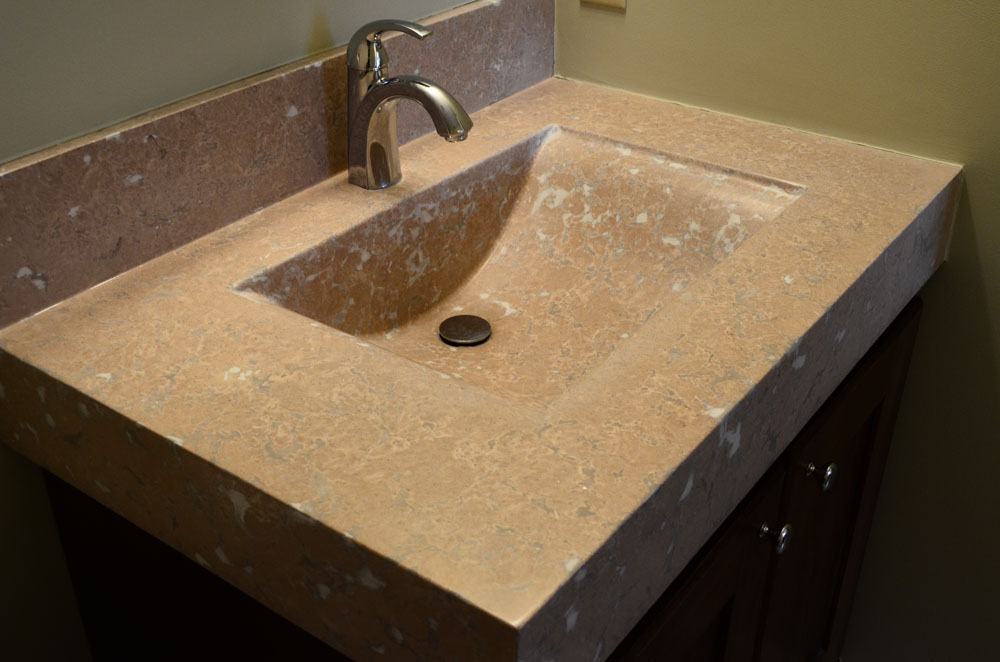
Once the structural layer is set, we were able to begin our formwork for the cantilevered edges on the deck and the steps. We could then begin pouring our decorative layer, which becomes the cast-in-place concrete “tiles.” This mix is very similar to the structural layer except for the fiber dosage and the integral color. The length and amount of fibers is reduced to allow for clean cuts from our stamping tools. We are able to use any one of our 25 different patterns as well as any integral color to achieve the final tile color and shape. Each one of the impressions made in the wet concrete is then grouted to ensure the realistic look of a custom handmade concrete tile. When the grouting process is completed, the entire surface is densified with a lithium siliconate, then sealed.

Thanks to the advanced mix and the densifying, moisture transmission is dramatically reduced.

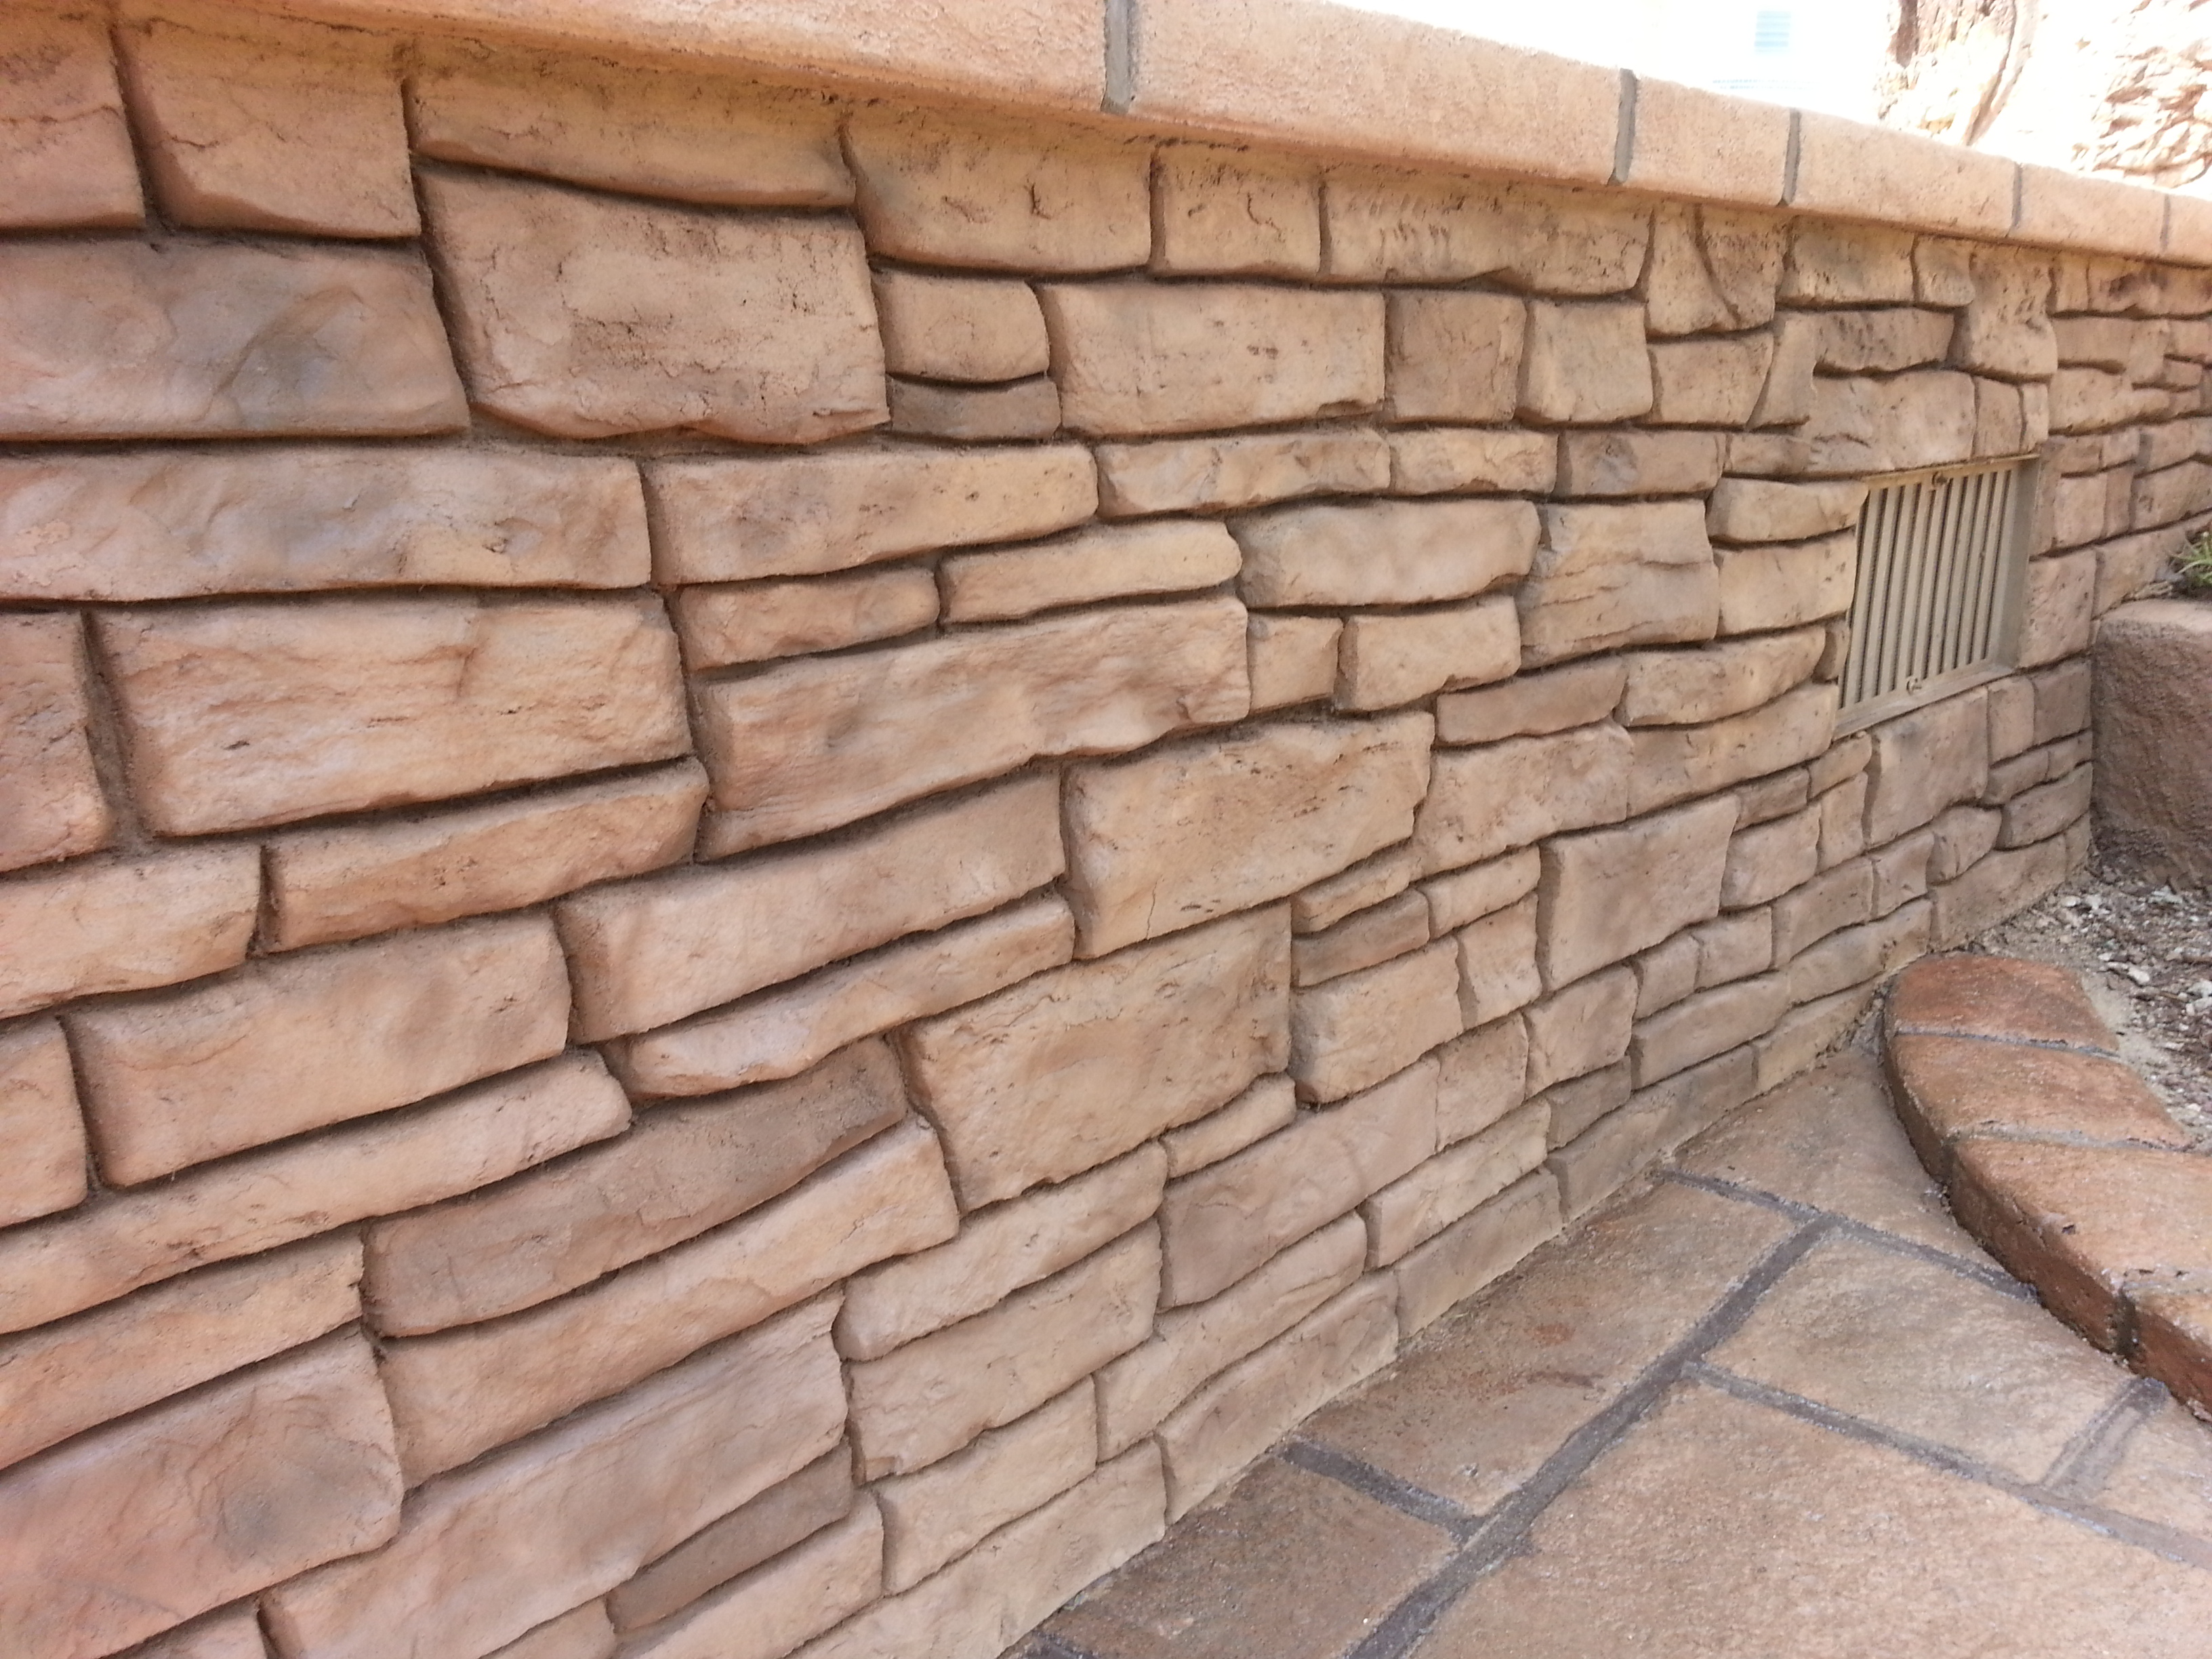
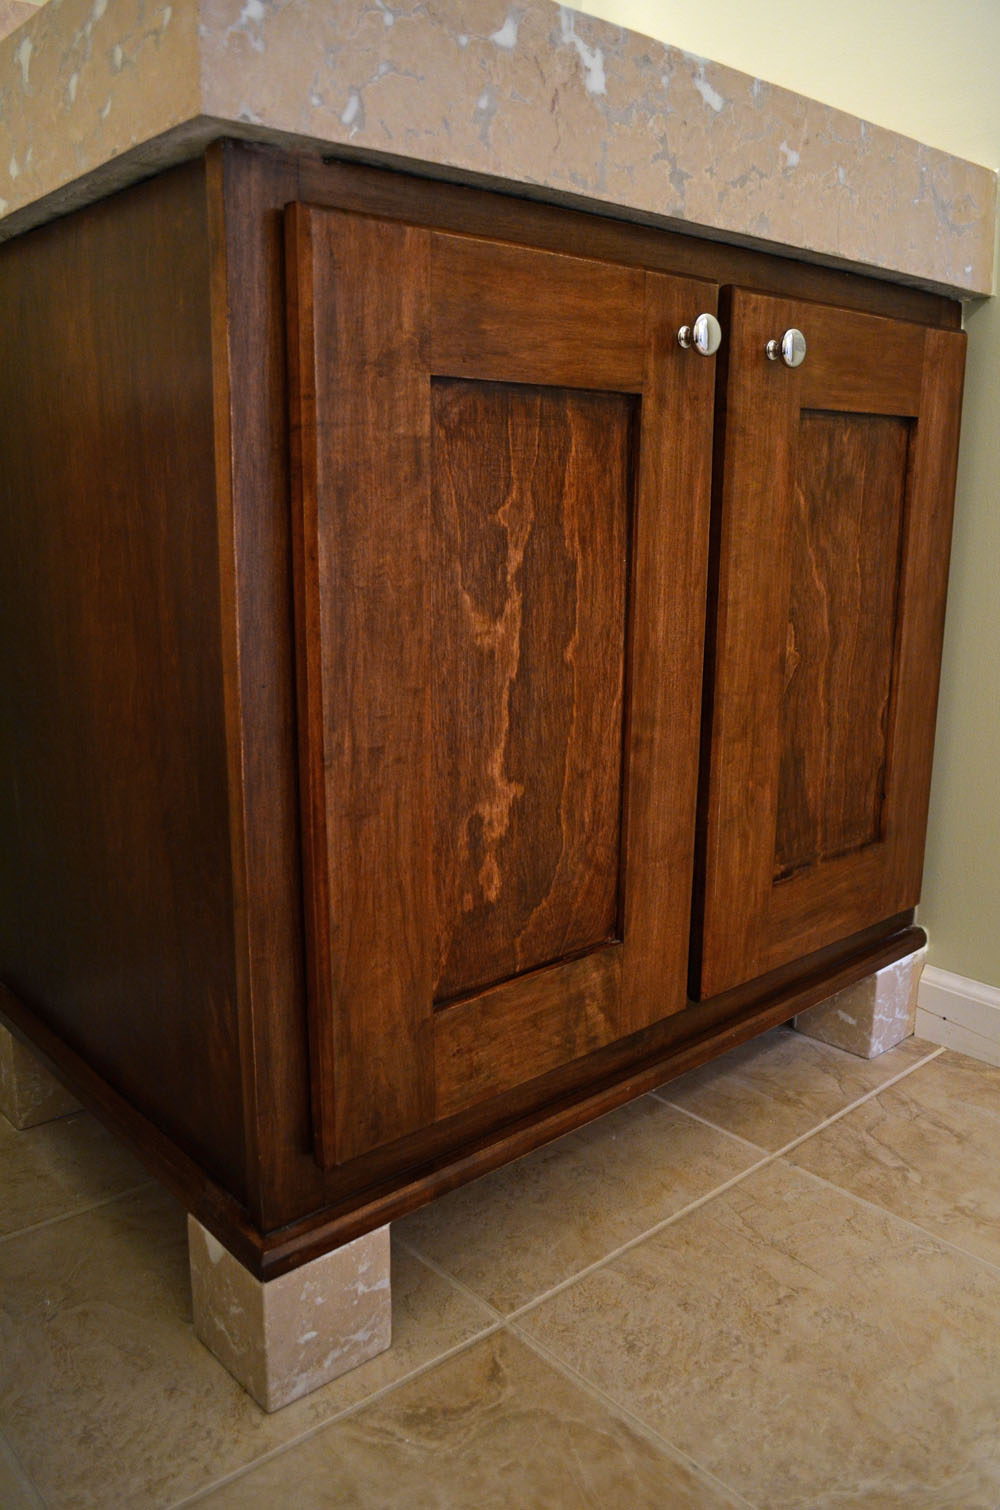
All of the vertical areas of the deck, as well as portions of the house and garage, were then covered using cultured stone. By enclosing the area underneath the deck and covering it in stone, we were able to create the illusion of a masonry porch.

Todd Fisher works on installs, research and development and online marketing for Unique Concrete, based in West Milford, N.J. His father, Barry, established Unique in 1980, and his brothers Travis and Timothy Fisher also play key roles in operating the family business. Todd can be reached at todd@uniqueconcretenj.com.

Benefits of Installing an Overlay Over Wood

It offers custom handmade concrete in an elevated setting. It’s a more expensive and impressive look than the plastic look and feel of many of the composites on the market.

It’s heat-resistant (much more than any composite and to a degree that rivals stone), which is great for areas that may have fire pits or grills. The concrete is rot-proof and insect-proof.

This process provides a waterproof area underneath the deck which can then be used during inclement weather (if the deck is on the second story) or just for storage. And there is no need for expensive gutter systems that are prone to clogging.

It offers the potential for a continuous look across all horizontal surfaces — which could include the deck, steps, patio, sidewalk and pool surround, and even the driveway.

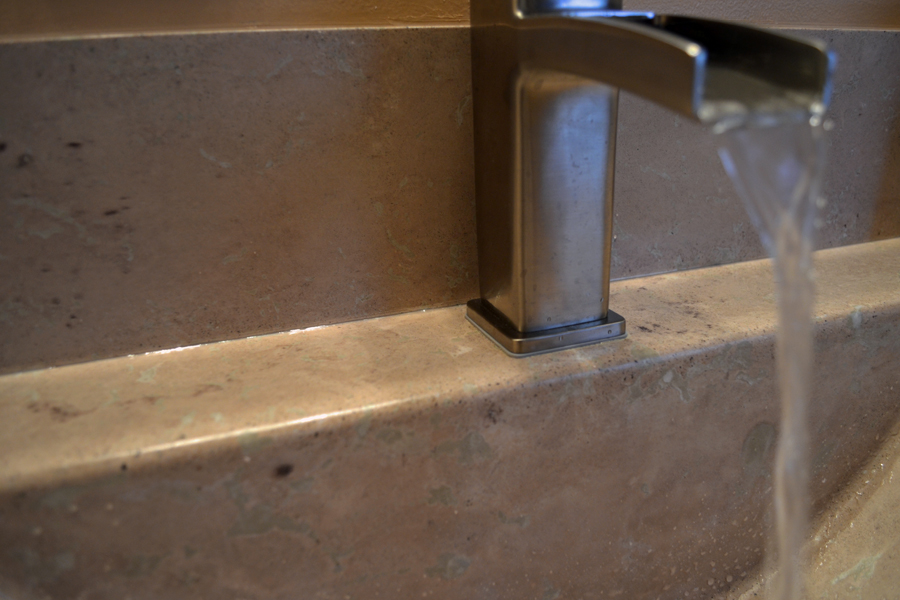
We can control the water flow. When installing surface drainage, we can direct the water to drain to gutters, scuppers, or just over the edge.

Even though we are in a pretty severe freeze-thaw environment, we guarantee that the decorative layer will not delaminate from the structural layer. We have seen people try to place tile or stone outside in a method similar to how it would be installed on the second floor of a home inside. When those surfaces are done this way outside, it is only a matter of time before water gets in and freezes, causing delamination.

It holds up much better in severe weather environments, such as freeze-thaw environments and near oceans, than exotic woods and other decking alternatives do.

This product has been designed to not need resealing. While sealers offer better stain resistance and a sheen, they are not necessary.

Overlays never have problems with fasteners or nails popping. Also, no splinters.

We offer a wide selection of patterns and colors — many more design options compared to composite deck materials.

Construction costs can be much more affordable compared to building a traditional masonry or steel structure of a comparable size.

Drawbacks to Installing an Overlay Over Wood

It is very difficult to introduce a new idea to the marketplace — especially when the idea is placing concrete on a wood deck.

Our process requires special chemicals to be added to create a high-performance mix that will create a very water-resistant concrete. These chemicals can be expensive.

Our mix need high dosages of fiber to work properly. It’s the fibers that allow us to work at a much thinner thickness, which means less weight on the deck.

Decks need to be designed to handle the weight of the concrete. Even though we are going relatively thin, they still need to be designed for the excess weight involved.

This work requires a highly specialized crew.

Getting material to the elevated surface is a task, and it needs to be done in a very efficient way since the concrete offers limited working time.


Concrete Wave Style Sink

This is a precast concrete sink with a wave shaped bowl, with a pressed finish.  We are able to create a counter and integral sink using concrete that shaped and sized for any bathroom.  This project was done with a pressed finish to leave voids in the surface during the initial casting.  Once the project is removed from the forms after it has cured, the voids are revealed.  These voids can then be filled with any color to offer contrast, or the same color to offer a subtle difference.  The options are limitless and there are many colors to choose from.  This sink was also cast with drop down edges in order to give the illusion of a much thicker surface, when actually the thickness of the sink is around 1″.  By doing this the weight is much less, therefore we can work with most vanities without special considerations.  This project also involved a custom built vanity as well as furniture style legs for the vanity to match the sink and counter.